Easter Cards!

20150316_141053

What you will need – Cardboard; Easter pictures; Scissors; Glue; Coloured pencils, textas, crayons, or paint to draw and decorate with; and anything else you would like to add e.g sparkles, pom poms, fancy paper etc.

Step 1 – Cut your cardboard to whatever size you would like to make your card/cards.

Step 2 – Find some Easter pictures in magazines, old cards, on the internet, or draw them.

Step 3 – Use your Easter pictures, colours etc to make unique Easter cards from the heart.

Step 4 – Write a heart felt message inside.

Step 5 – Give them to all your loved ones and spread the Easter cheer.

20150316_141033

Happy Guiding and abundance of Easter blessings,

From

Darling Precious Children

Easy Easter Bunny Masks!

IMG_20150330_153805

20150325_144719  20150326_151959

What You Will Need: Cardboard, Hat elastic, Easter bunny template or you can draw your own (http://www.firstpalette.com/Craft_themes/Animals/animalmasks/animalmask.html has a good one), Coloured pencils, crayons, textas or paint, Coloured pom pom for the nose.

20150326_124113

Step 1 – Draw or print up your Easter Bunny onto a piece of cardboard.

Step 2 – Colour with coloured pencils, crayons, textas or paint.

20150326_124212

Step 3 – Carefully cut around the Easter Bunny and its eyes.

Step 4 – Punch a hole in each side and add some hat elastic (don’t forget to measure it on the child’s head first).

Step 5  – Stick on the pom pom nose.

20150316_135147

20150328_145540

Your Funny Bunny Mask is now ready, so wear it happily as you hop along!

20150328_14494920150329_152842

20150325_144753

Happy Guiding and Easter Blessings to all

From

Darling Precious Children

Elegant Easter Egg Hanging!

20150316_121434

What you will need: An Easter Egg Template (you can make up your own or websites such as http://www.firstpalette.com/tool_box/printables/eastereggs.html have some great ones), Cardboard, Scissors, PVA/Craft glue, Assorted jewels and sparkles (you can buy them cheaply from discount stores), Hole punch, Hanging ribbon,  Coloured textas, crayons, pencils, paint and anything else you would like to use to decorate your Elegant Easter Egg Hanging.

20150316_121508

Step 1 – Print or draw your Easter Egg onto a piece of cardboard (any colour you wish).

Step 2 – Carefully cut out your Easter Egg and punch a hole in the top with your hole punch.

Step 3 – Use your assortment of jewels, sparkles, colours, etc to decorate your egg in anyway you like. It is best to use PVA/Craft glue when gluing jewels and sparkles as they may not stick otherwise.

Step 4 – After it has completely dried, thread a piece of ribbon through the hole at the top of your Elegant Easter Egg Hanging and tie a knot in the end.

Step 5 – Hang your Elegant Easter Egg Hanging up somewhere where everyone will be sure to admire it 🙂

20150316_121426

Happy Guiding

and a very blessed and happy Easter

from

Darling Precious Children


Candy Cane Threading

Candy Cane4

What you will need – One Pipecleaner; Eight green beads; Eight red beads;Eight gold beads; Eight silver beads.


Candy Cane1


What to do – Thread the beads in whatever pattern you like onto the pipecleaner. Then bend the top to make the hook of the candy.


Candy Cane2


Candy Cane3

Hang it on your Christmas tree for everyone to enjoy.


Candy Cane5

Happy Guiding and a very Merry Christmas

From,

Darling Precious Children

Peace Angel


OLYMPUS DIGITAL CAMERA


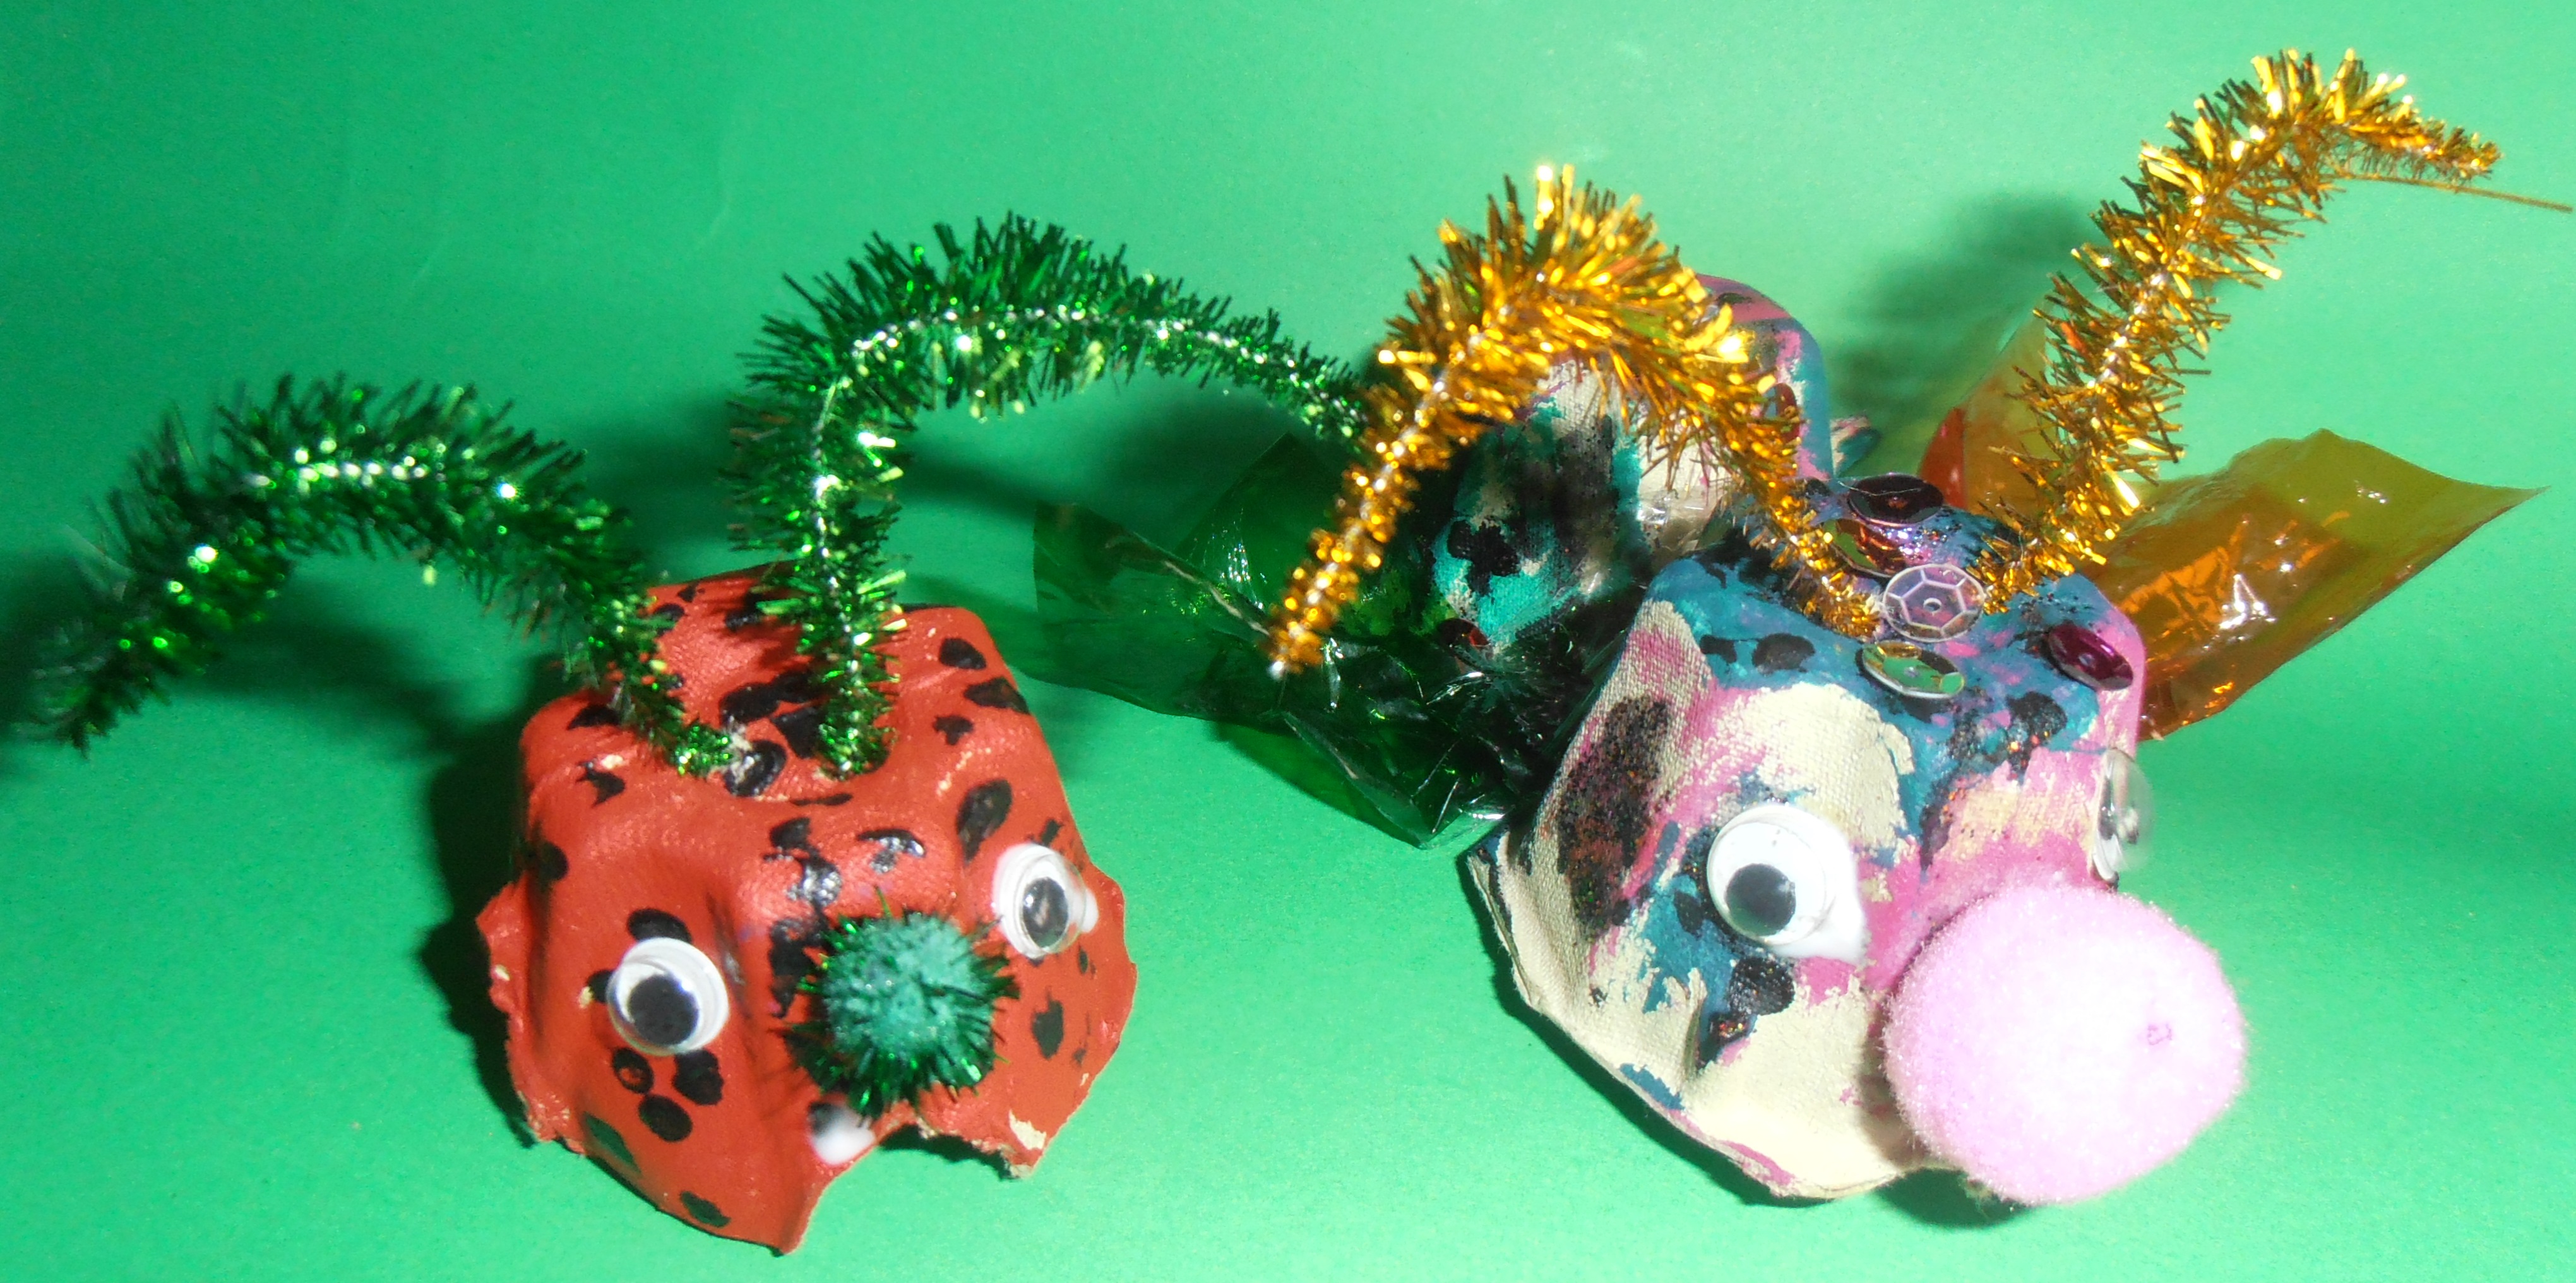
What you will need – Coloured paper; Two small squares of white paper; Paint, Crayons or Pencils;  Cardboard/Cardboard person (for head);  Tinsel pipecleaner; Sticky tape; PVA glue; Gluestick; Sparkles; Googly eyes; Tissue paper.


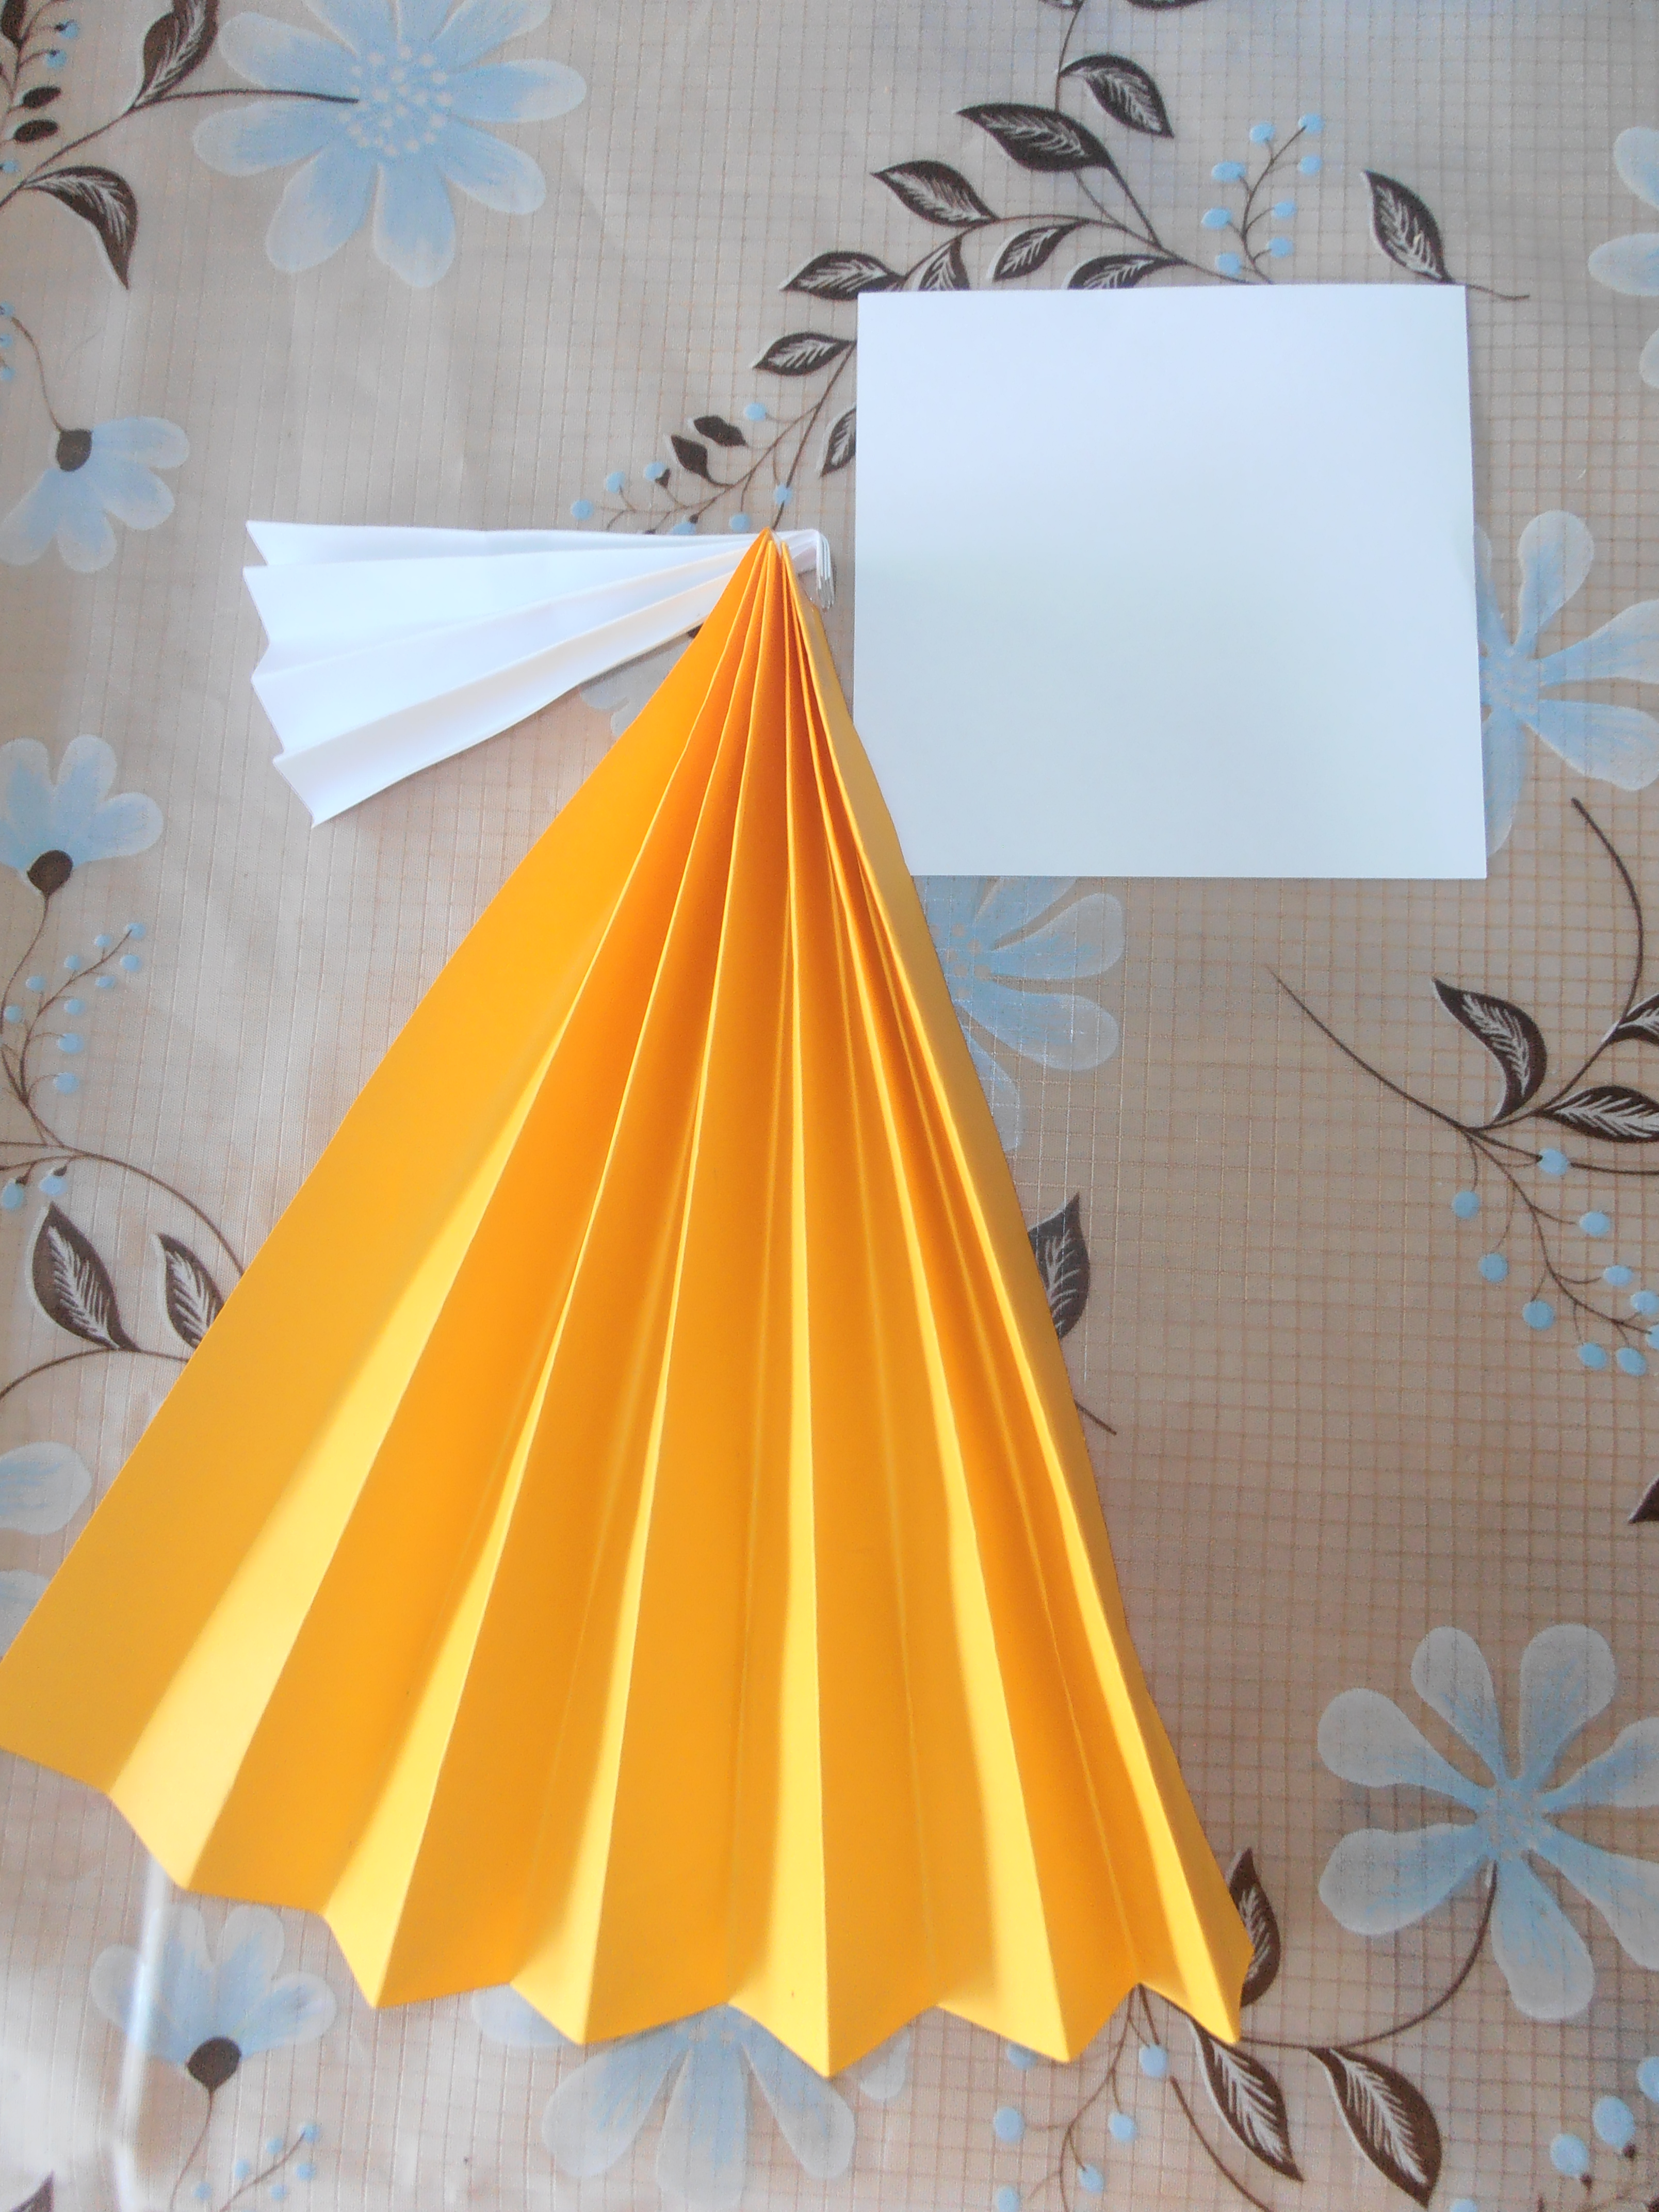
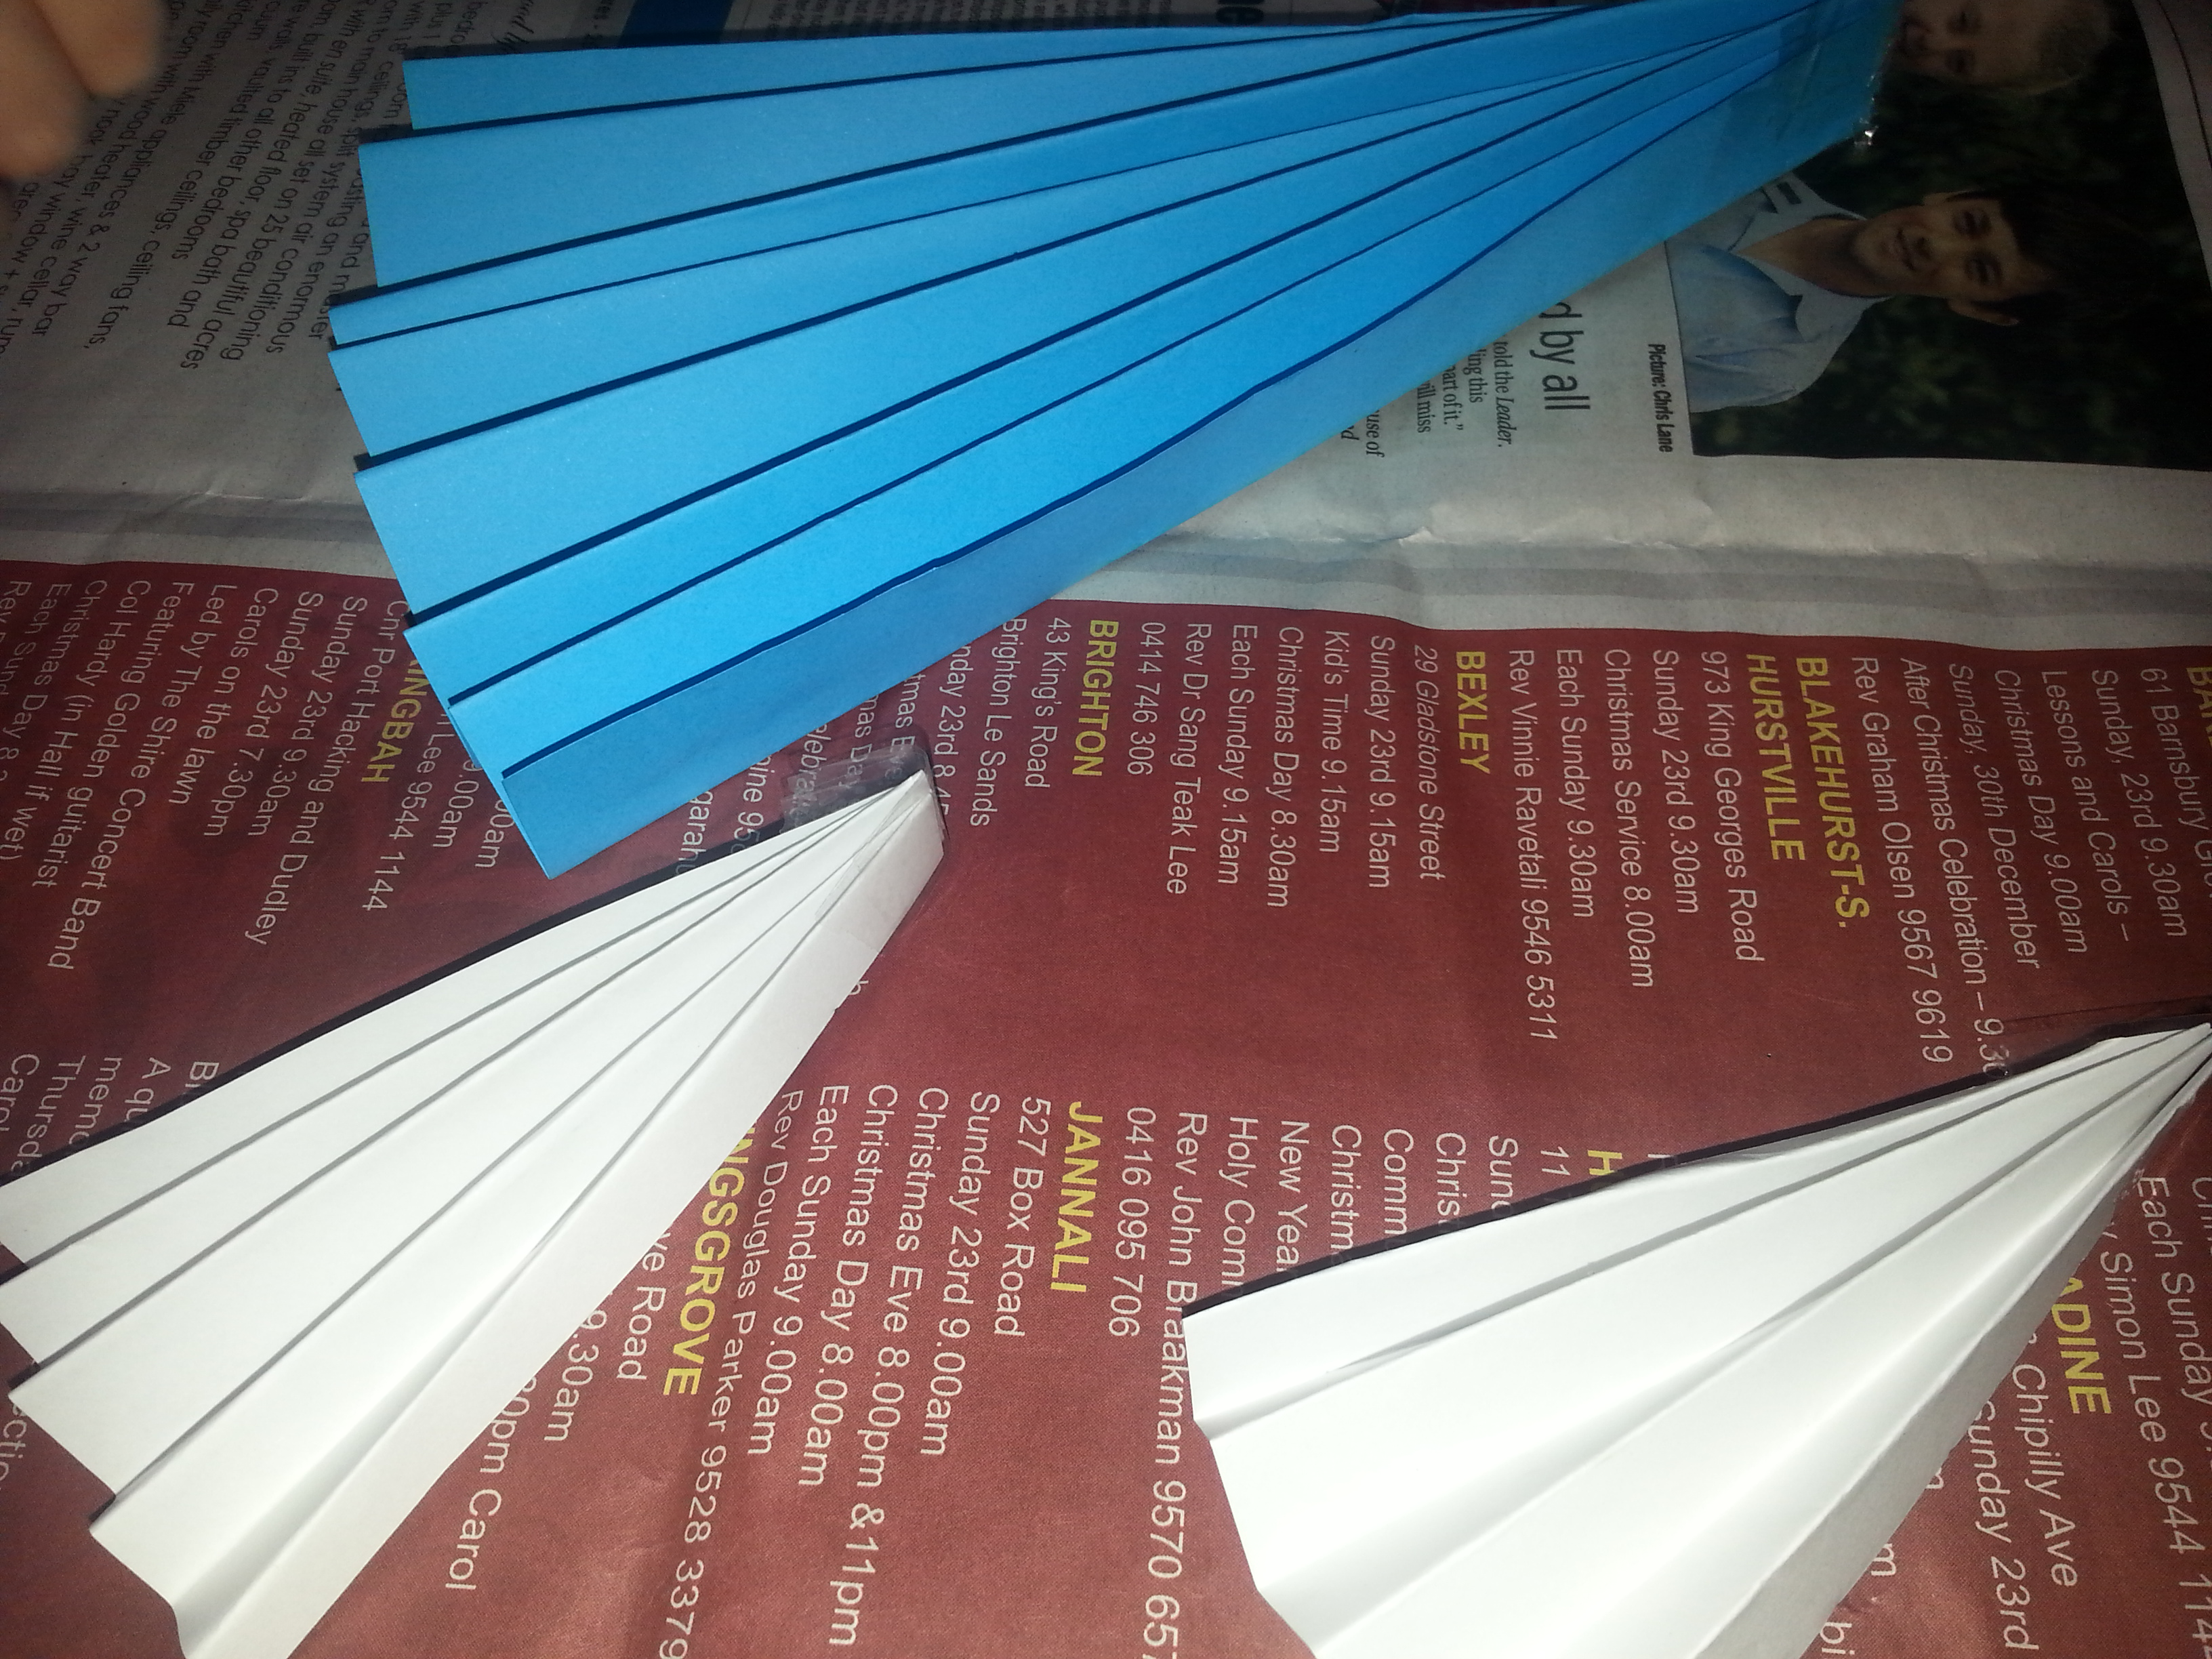
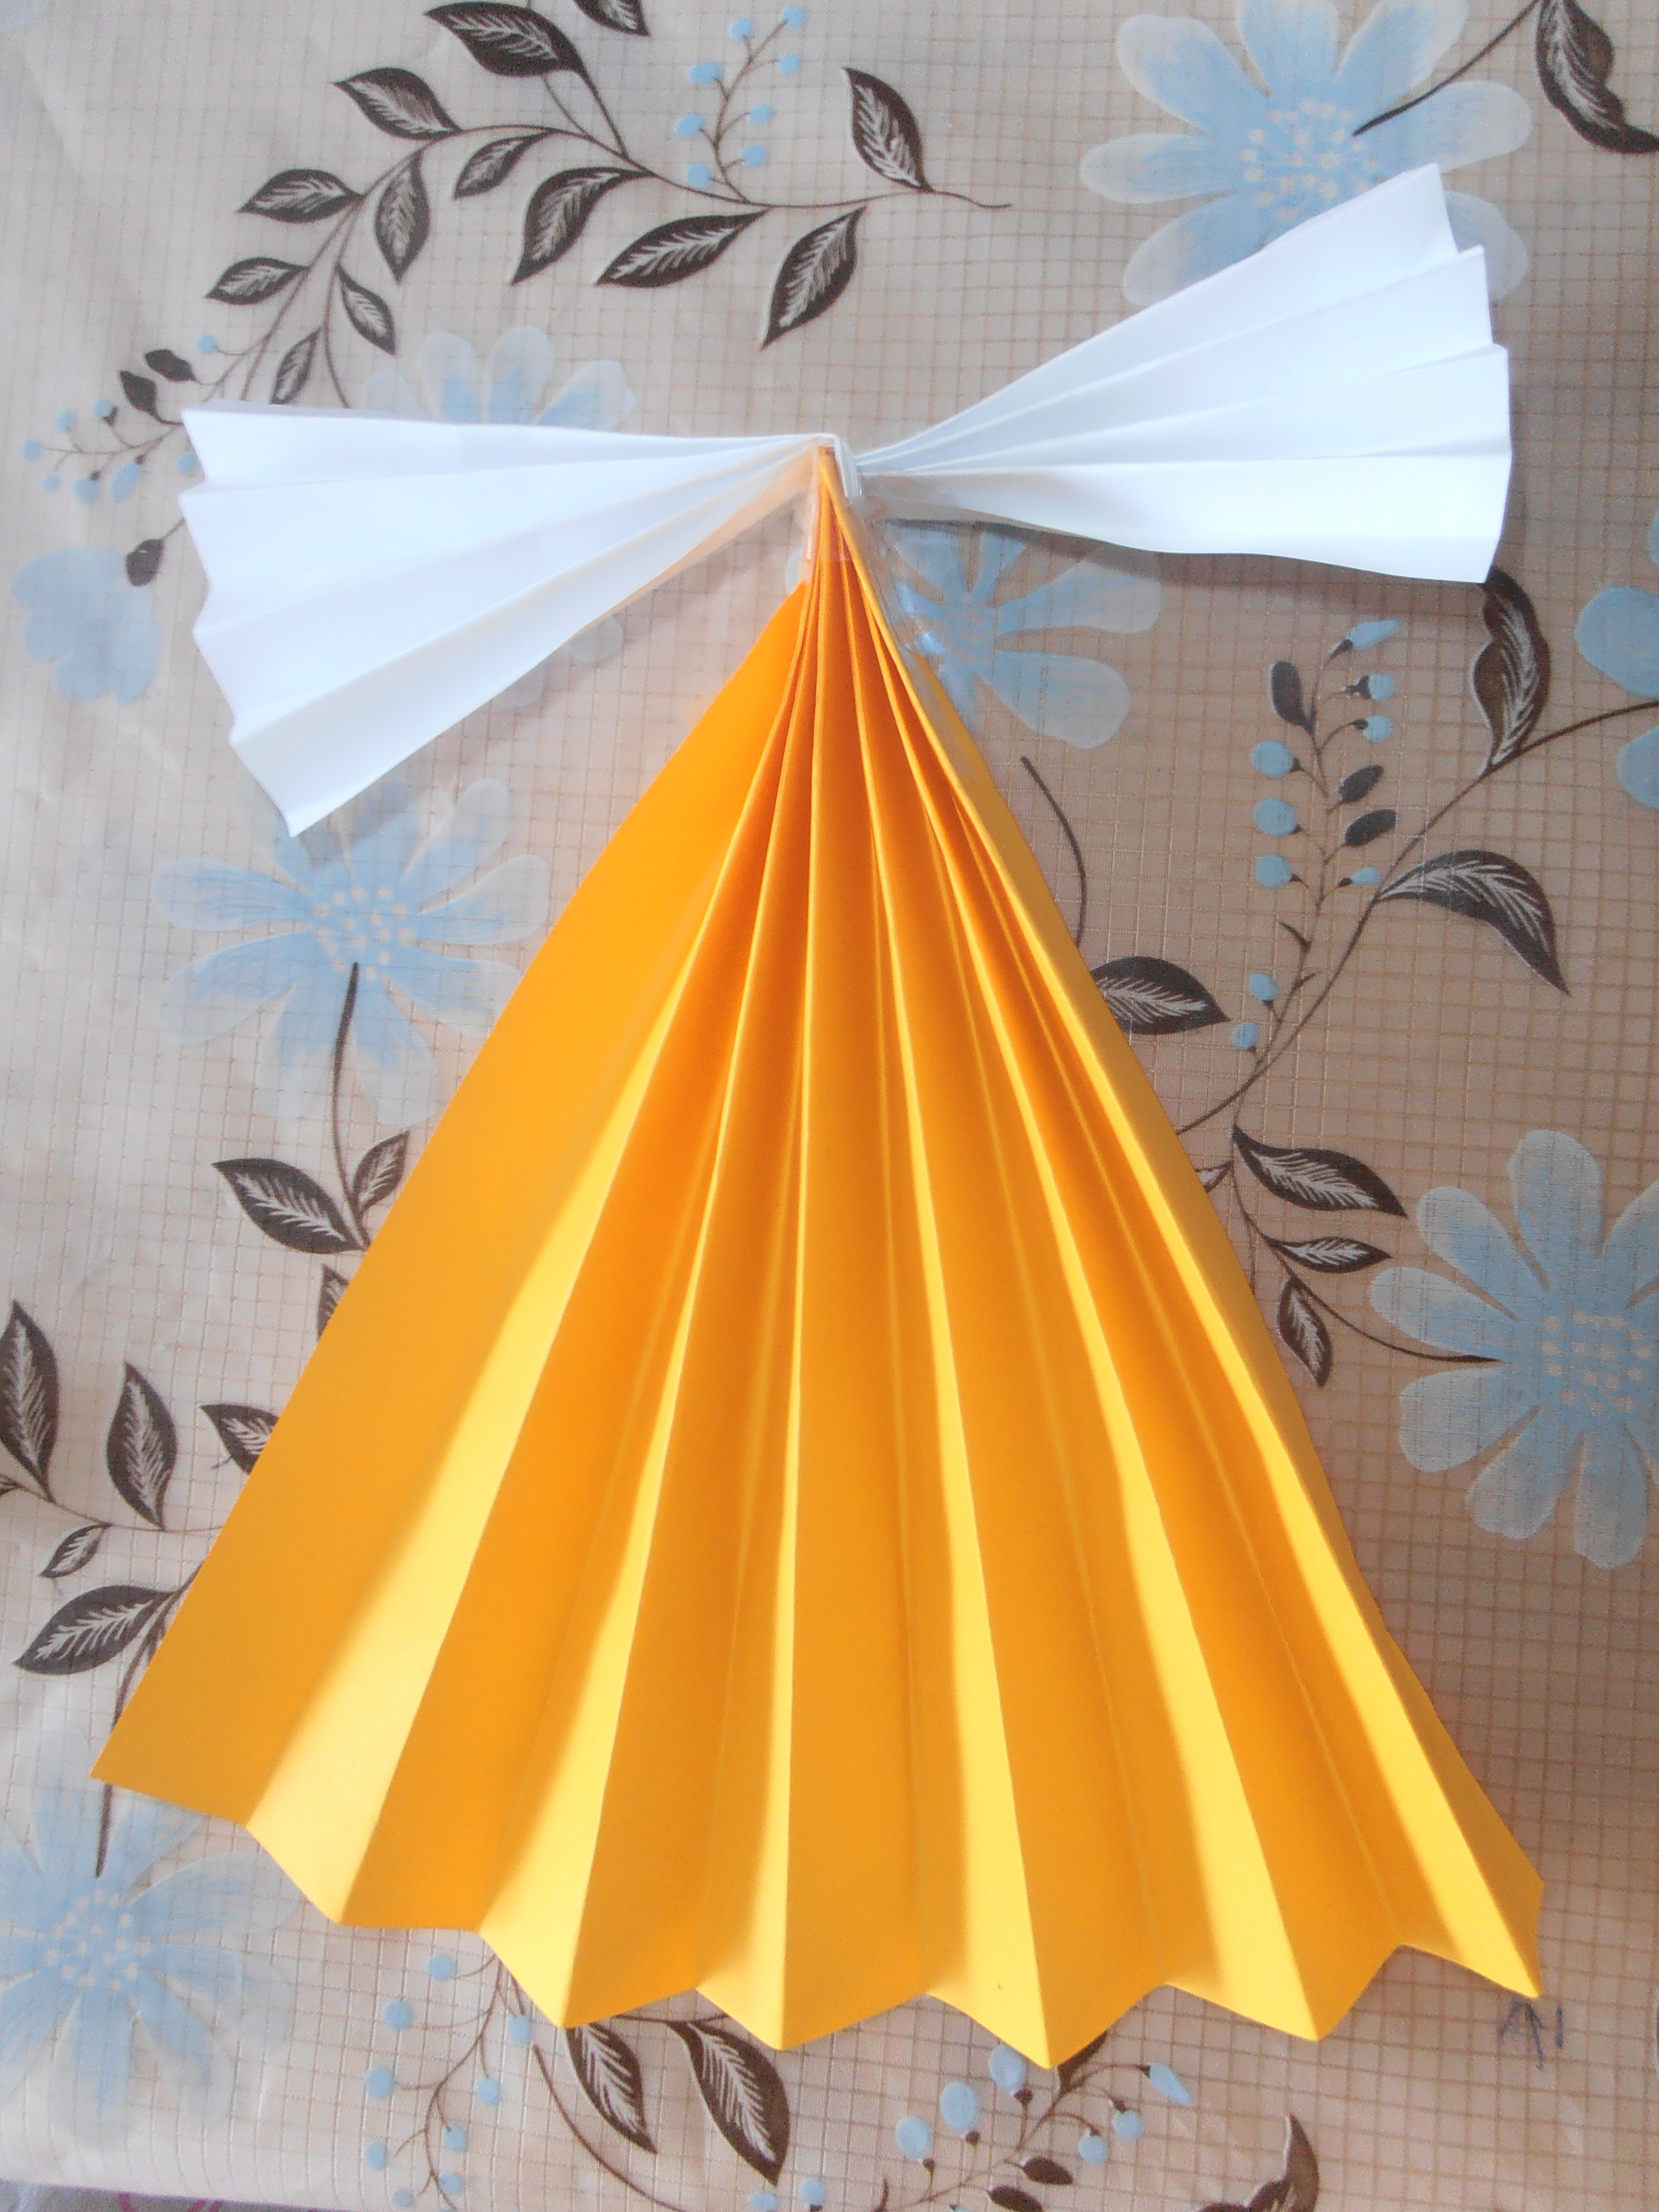
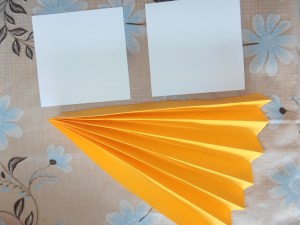
Step 1 – Fold your coloured paper into a concertina by folding 2 cm over on one side and then turning it over and folding 2 cm on the other side and so on until it looks like a fan. Then tape the end with Sticky tape.


PeaceAngel1

PeaceAngel2

OLYMPUS DIGITAL CAMERA


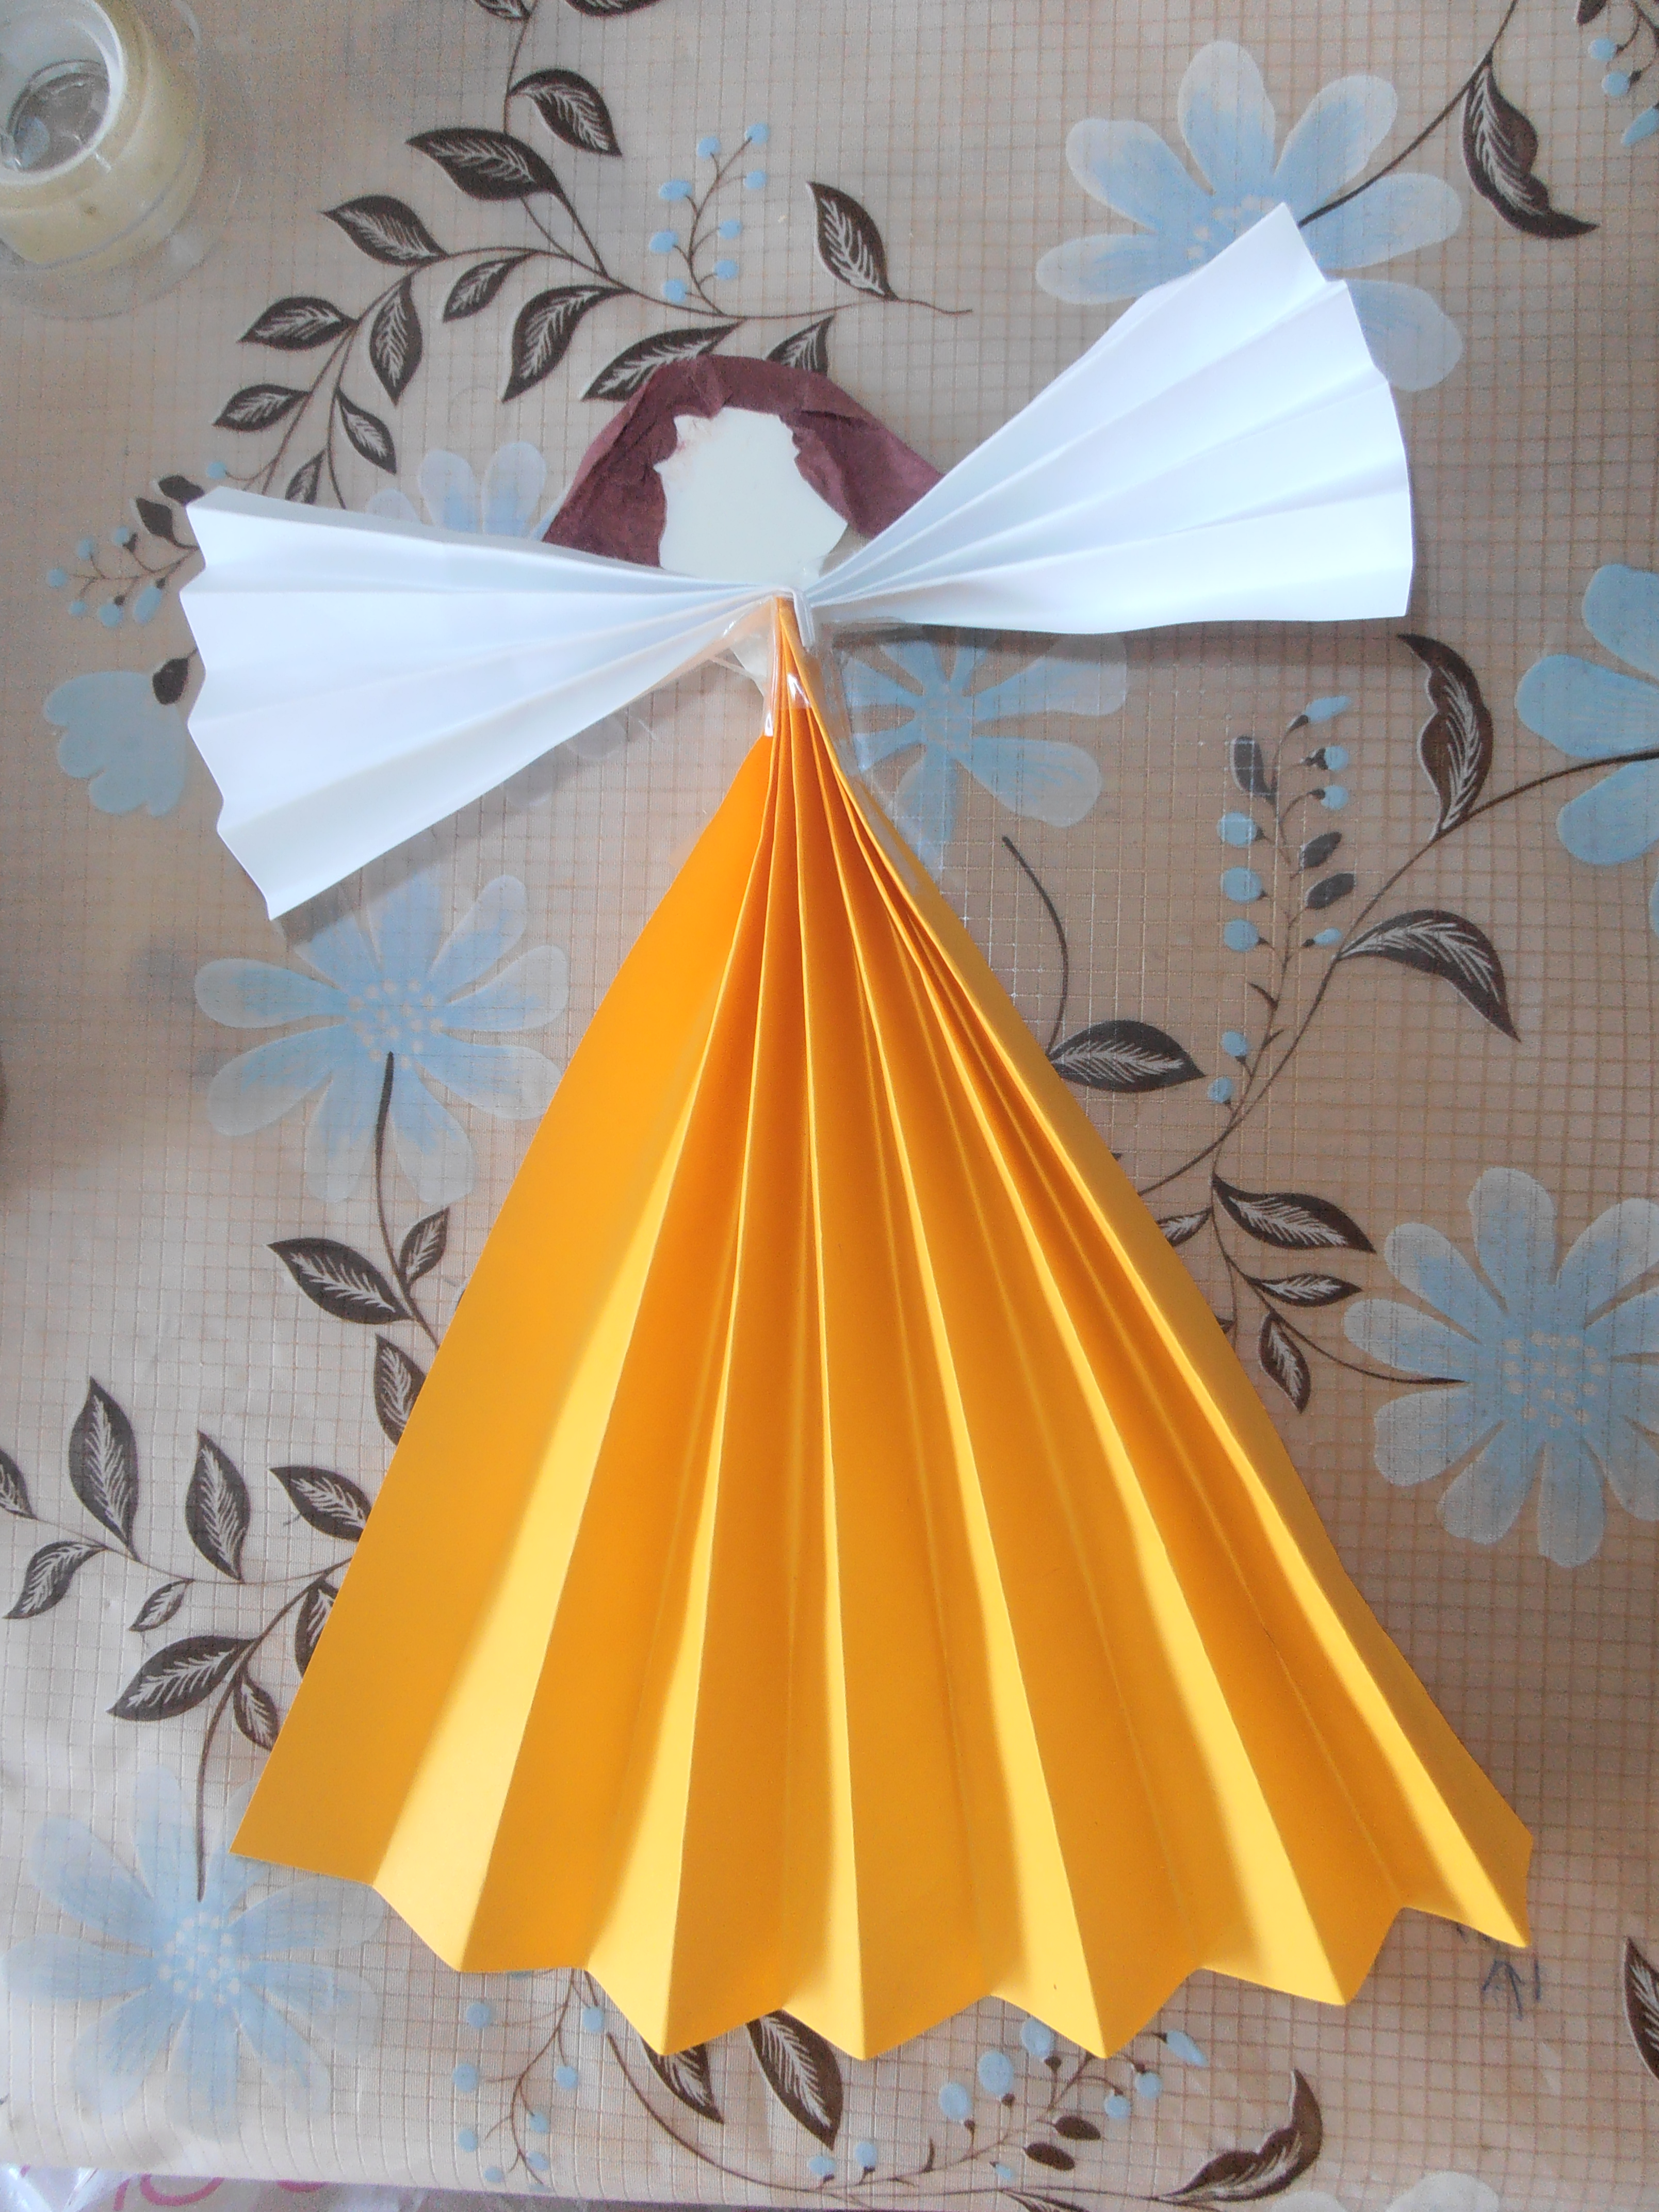
Step 2 – Using the two small pieces of white paper, fold them into a concertina as well and then tape the end of each one. When they are both complete, as in the picture below, tape them to the top of your large concertina with Sticky tape.


OLYMPUS DIGITAL CAMERA

OLYMPUS DIGITAL CAMERA PeaceAngel6

OLYMPUS DIGITAL CAMERA

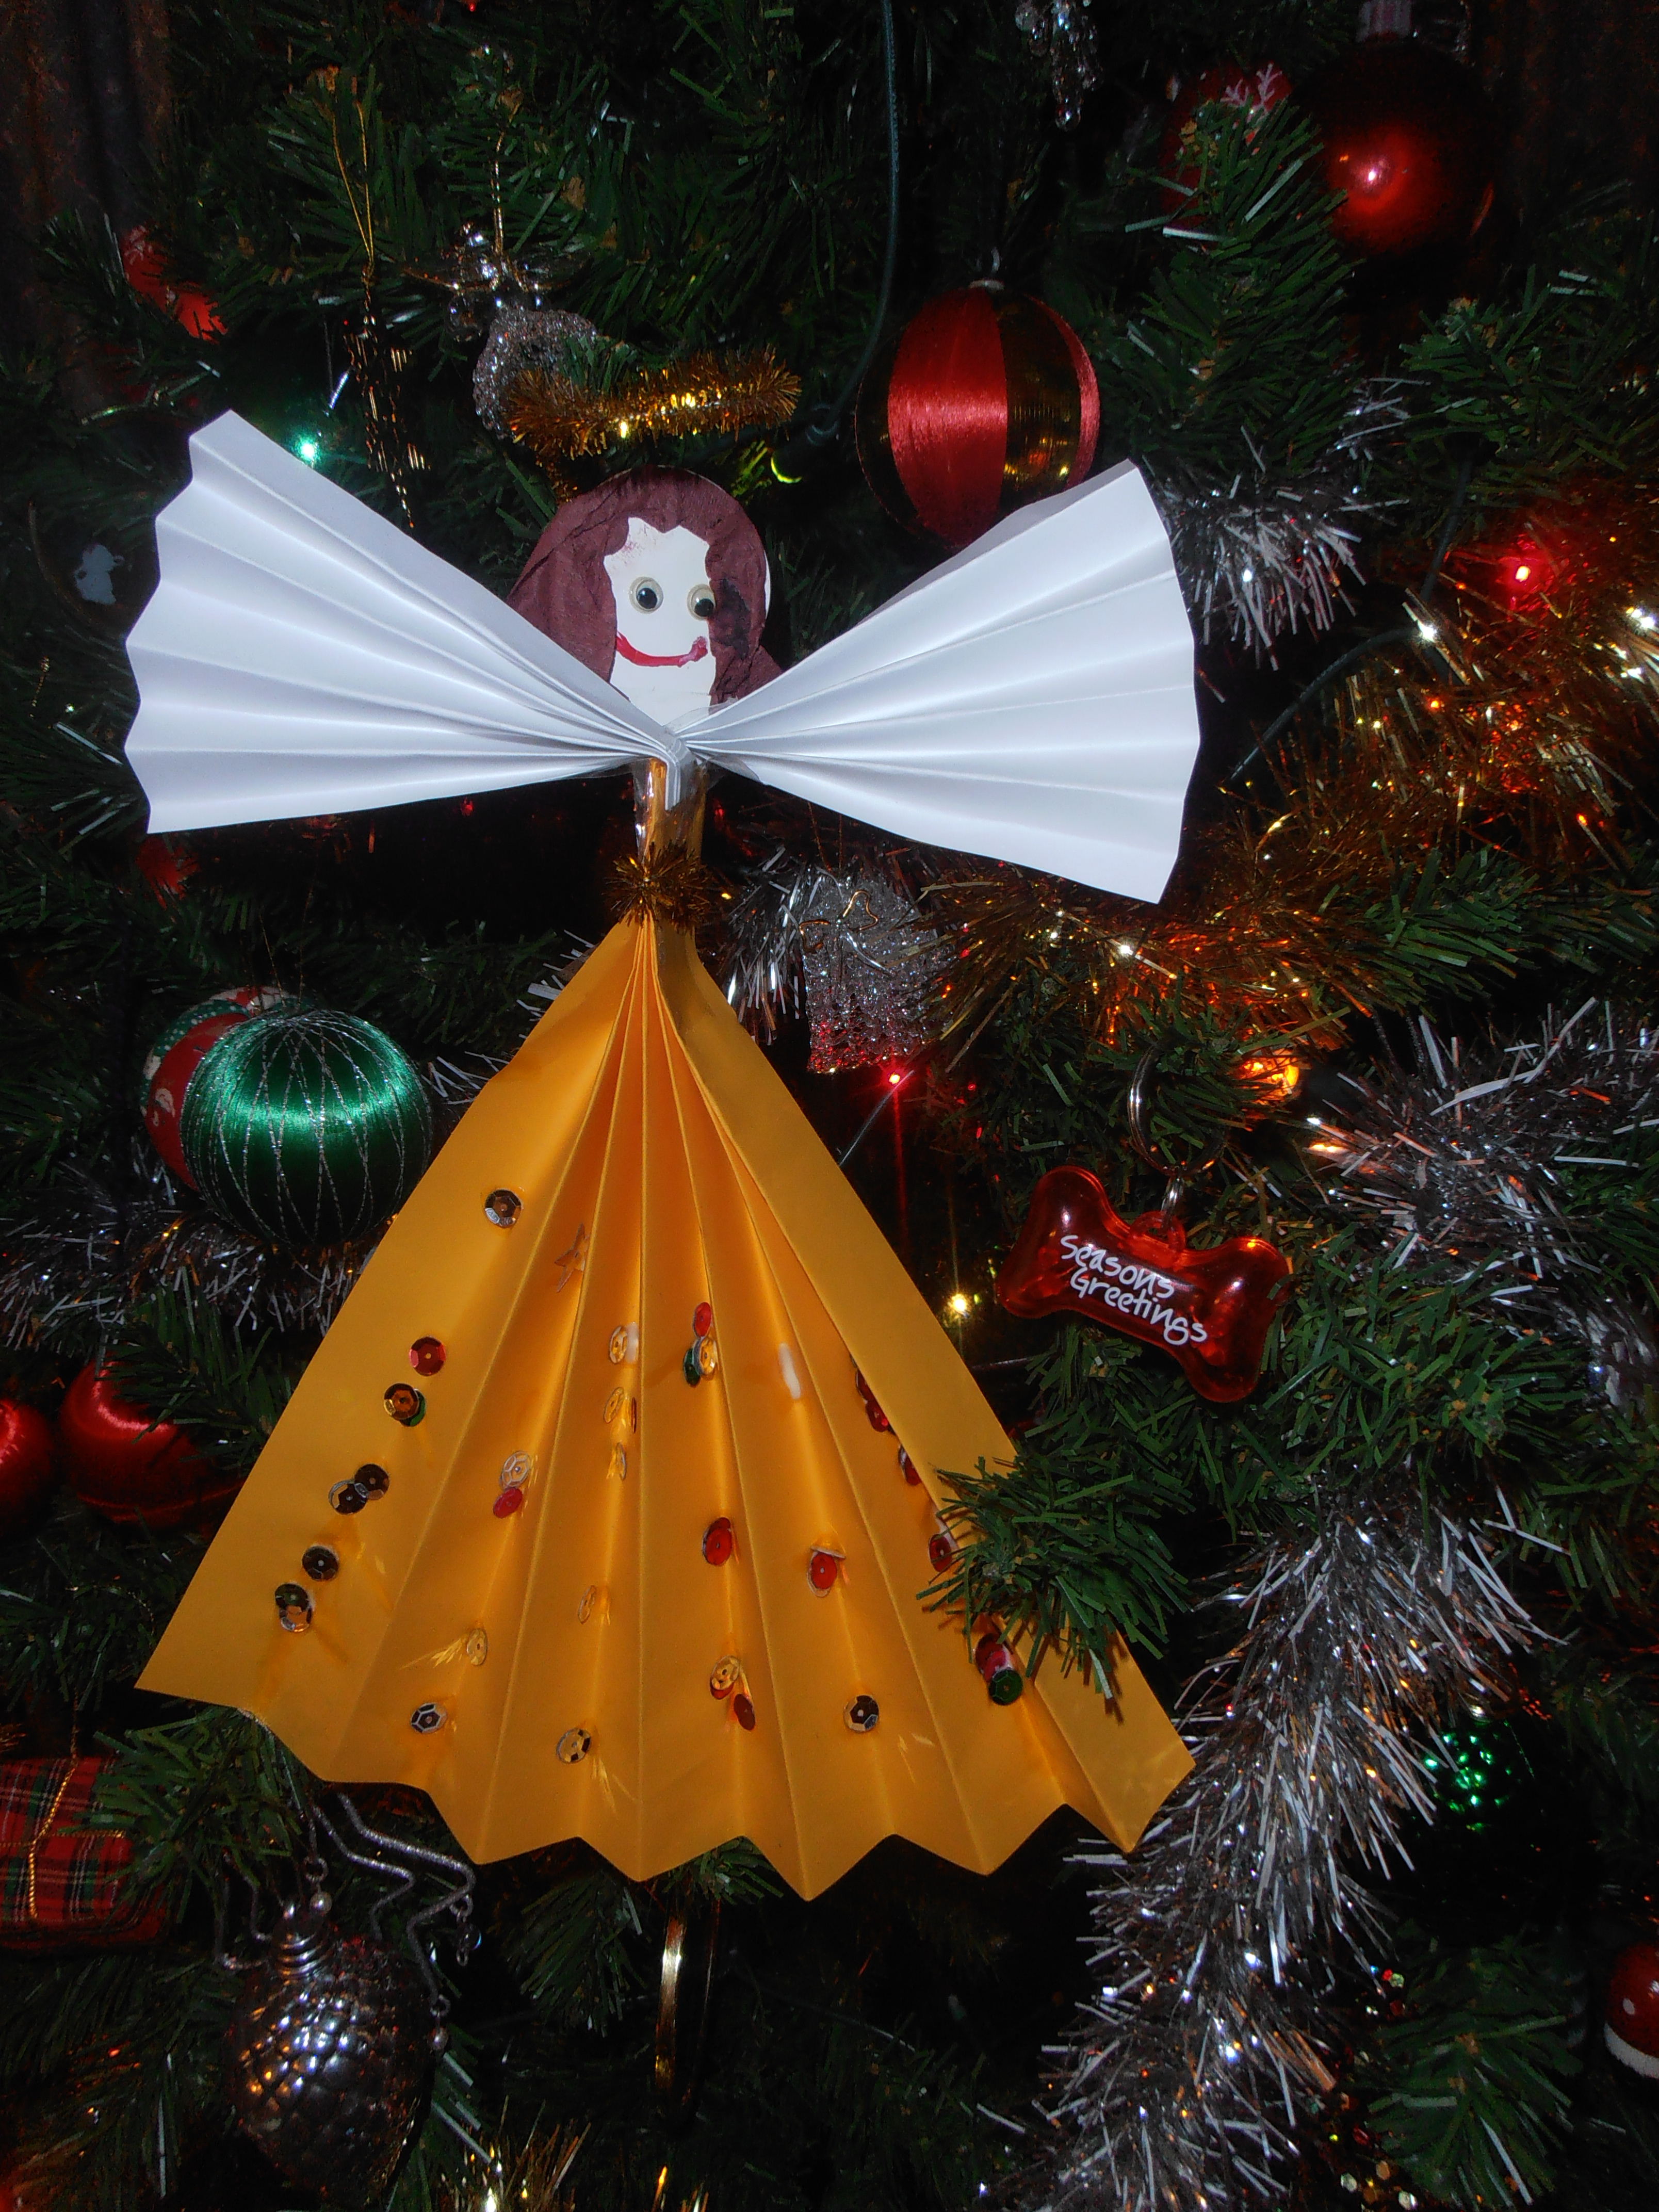
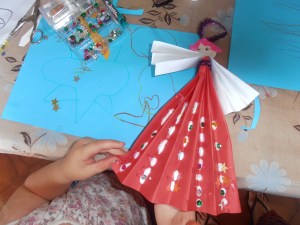
Step 3 – Using a small piece of cardboard, cut a round shape for a head but leave a long piece for the neck to make it easier to attach. You can even use a small cardboard cut-out of a person and just use the head and neck part. Stick this on to the top of your Angel, securing the neck with Sticky tape at the back.


OLYMPUS DIGITAL CAMERA


Step 4 – Using your tissue paper, cut or tear a small piece to make hair in whatever size or colour you like. Glue this on with the gluestick.

OLYMPUS DIGITAL CAMERA


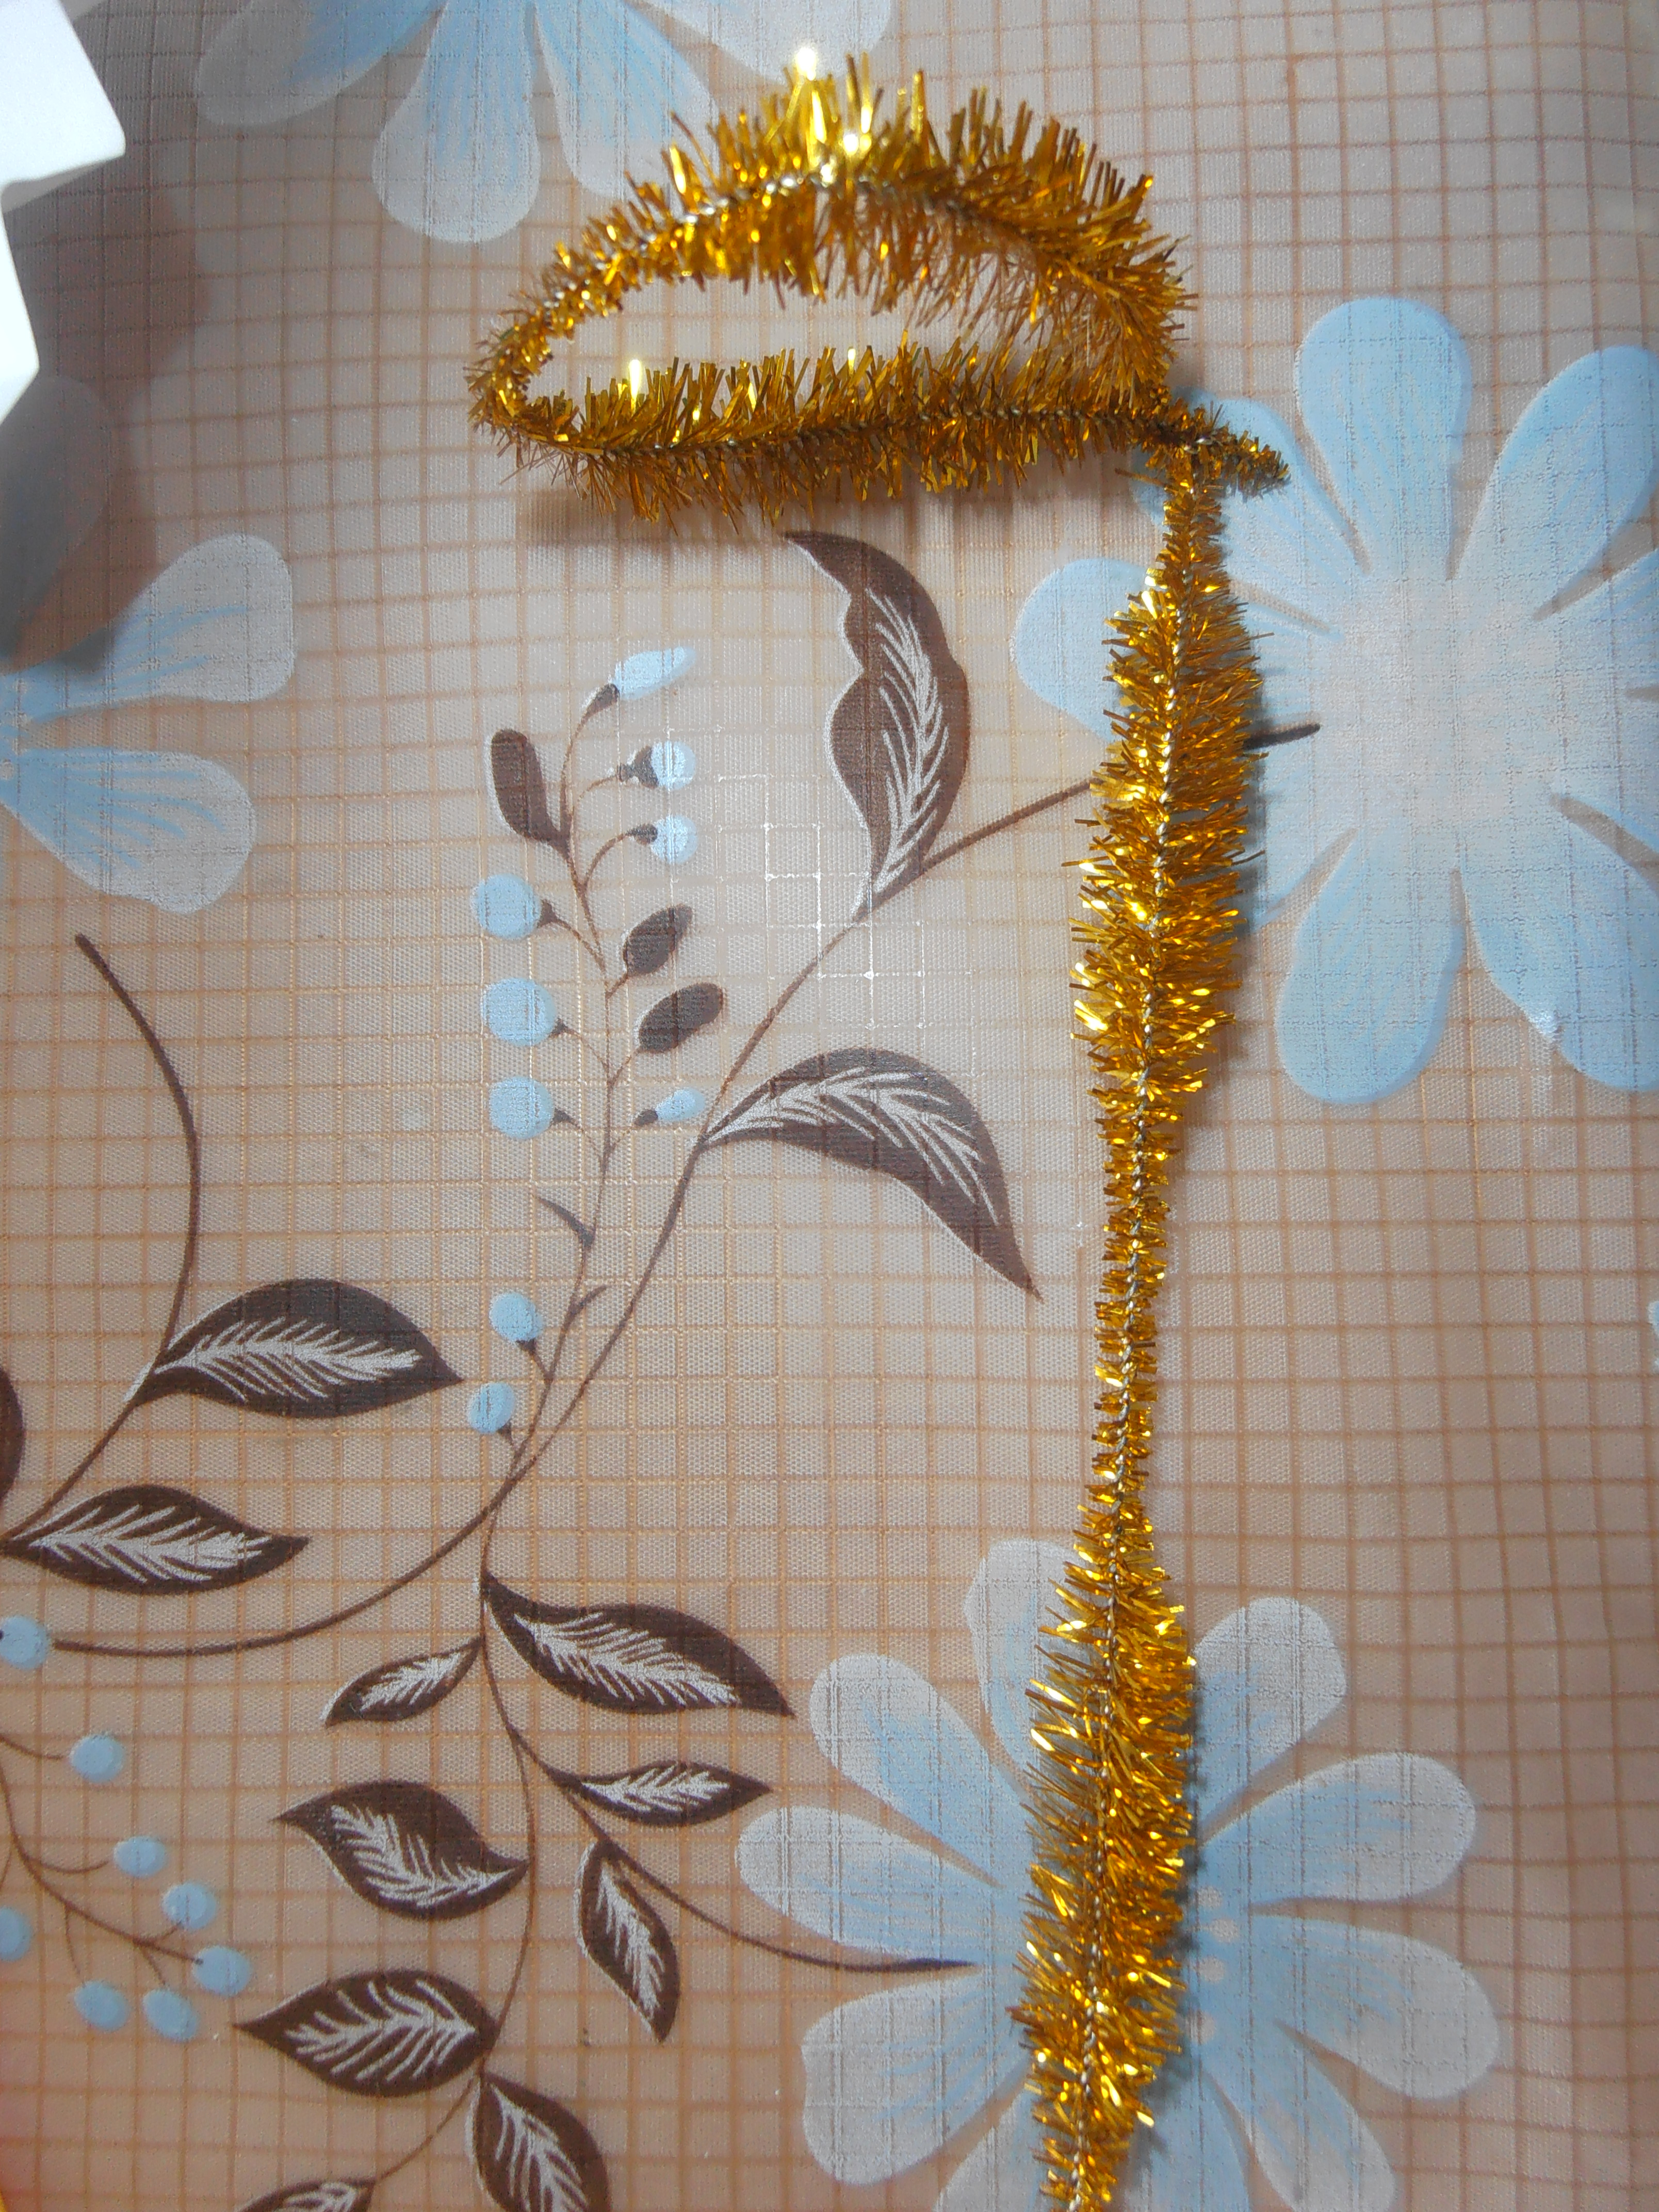
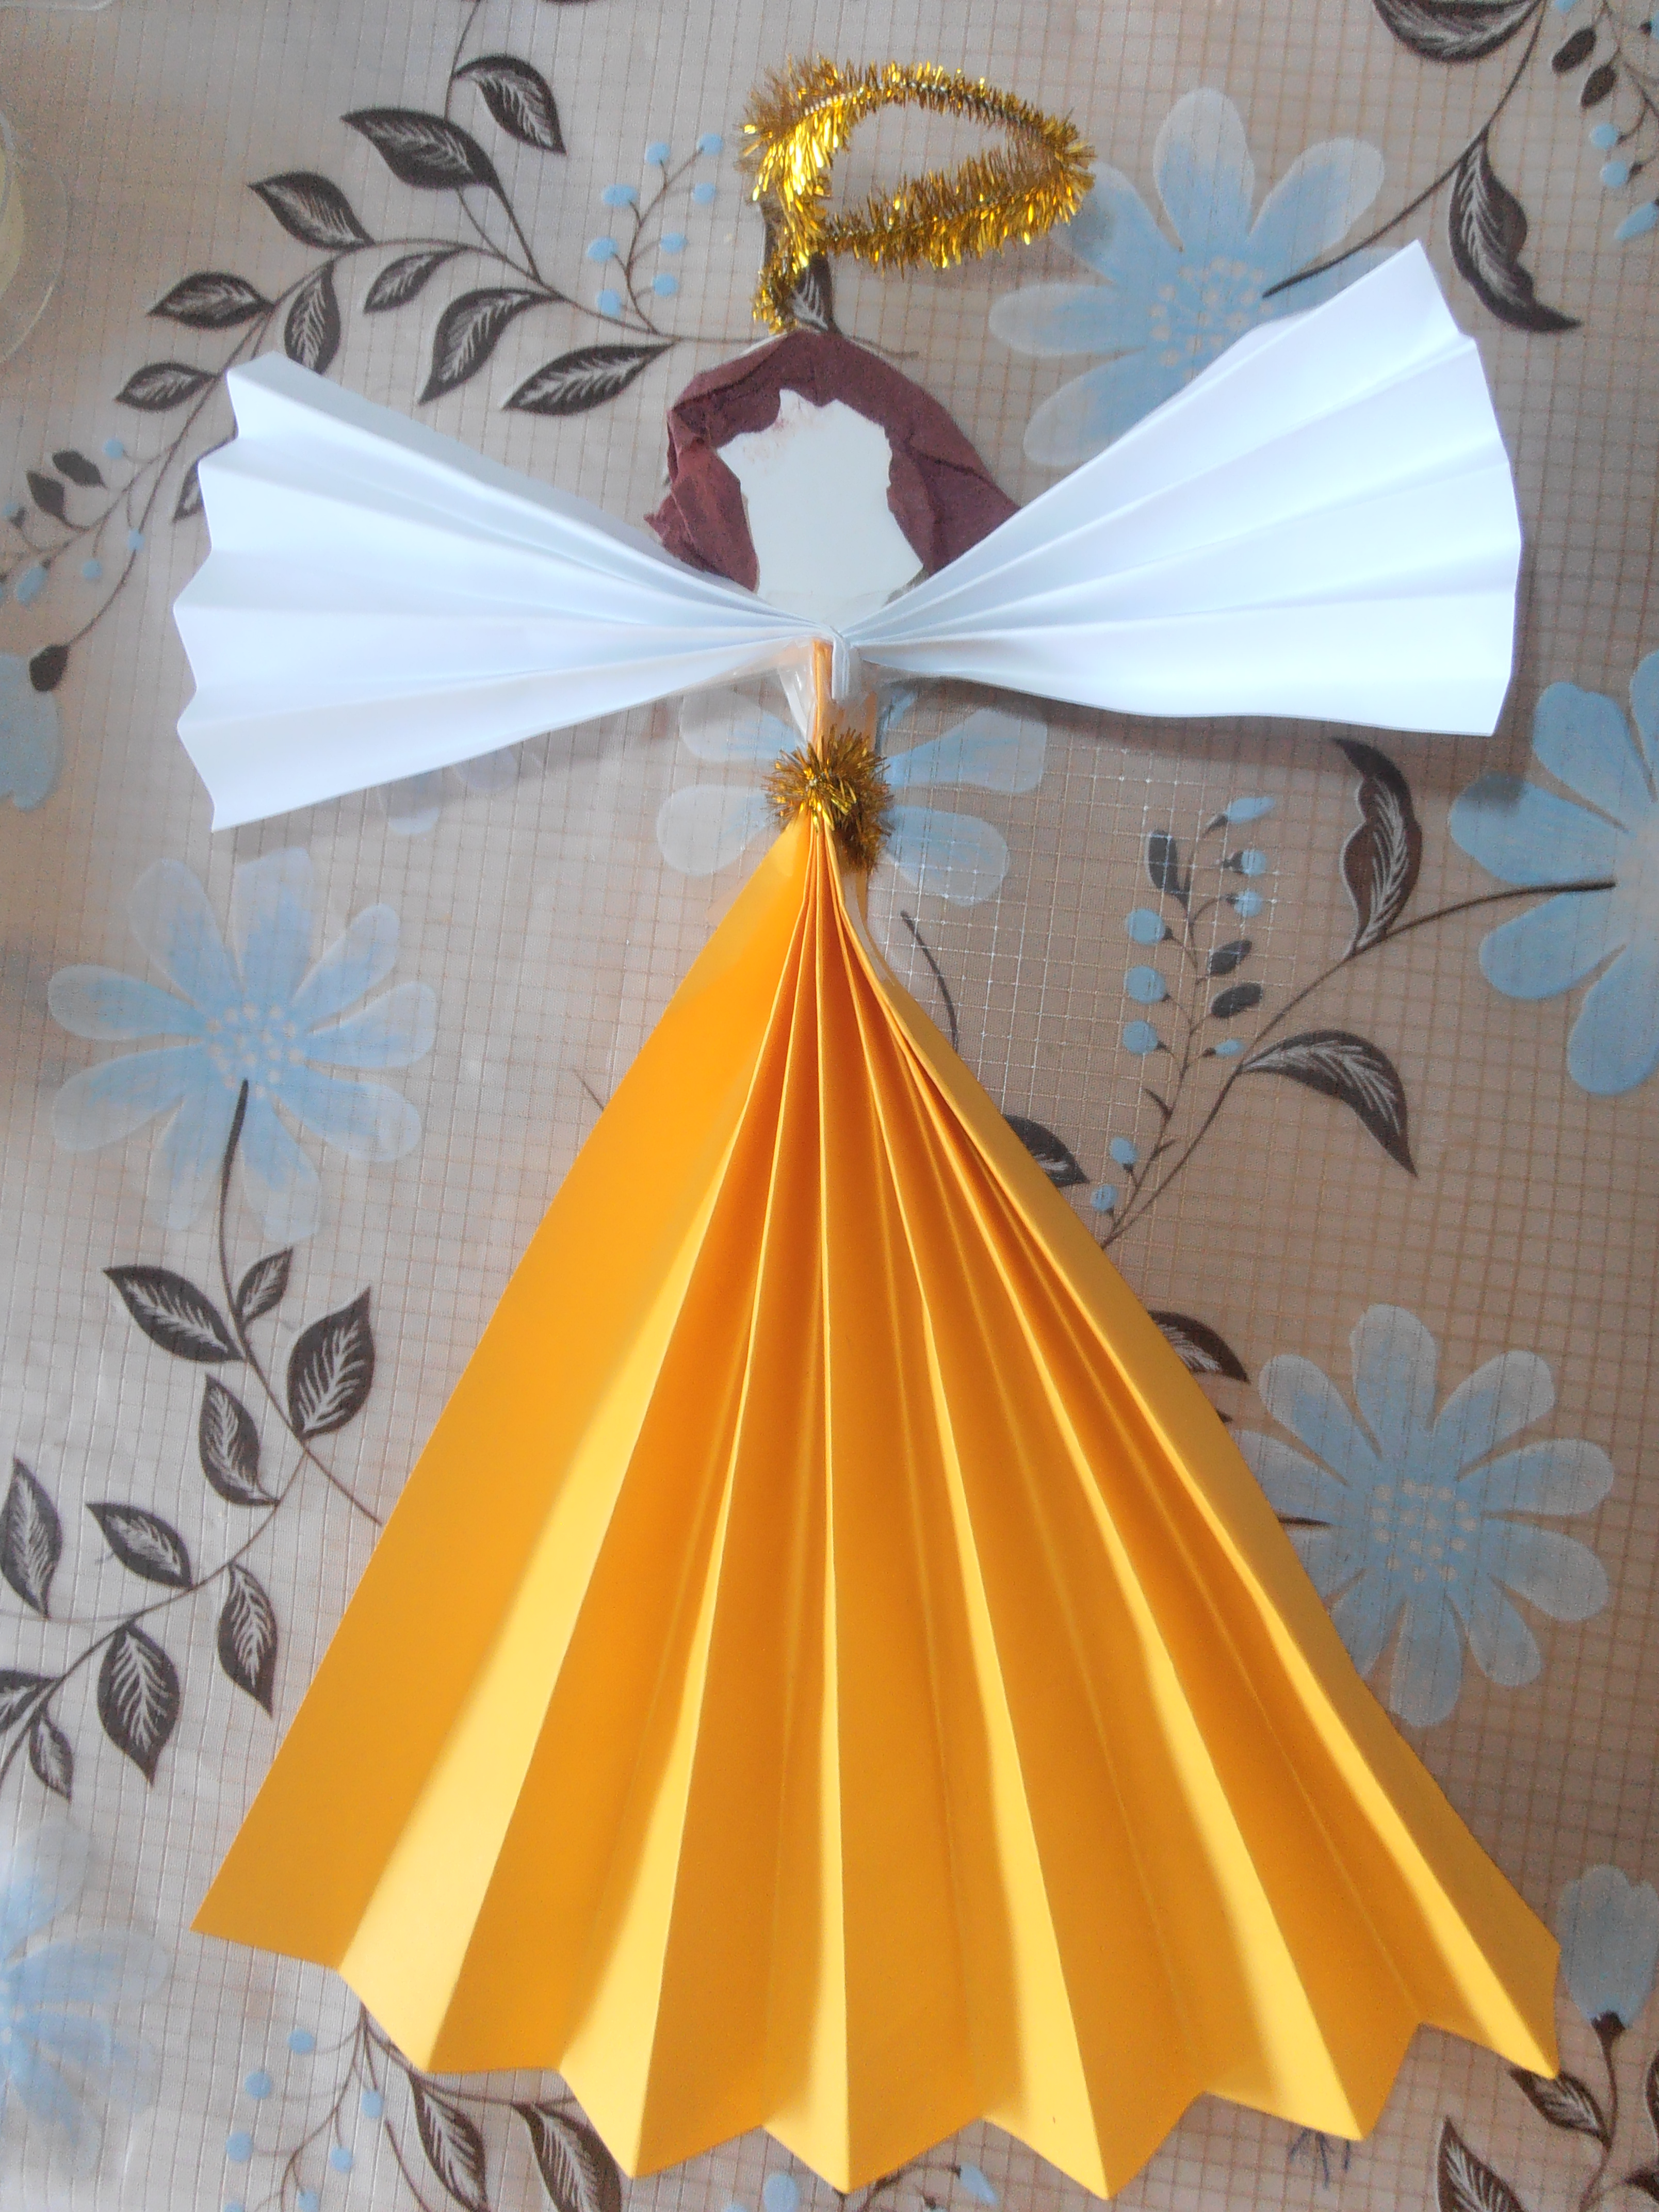
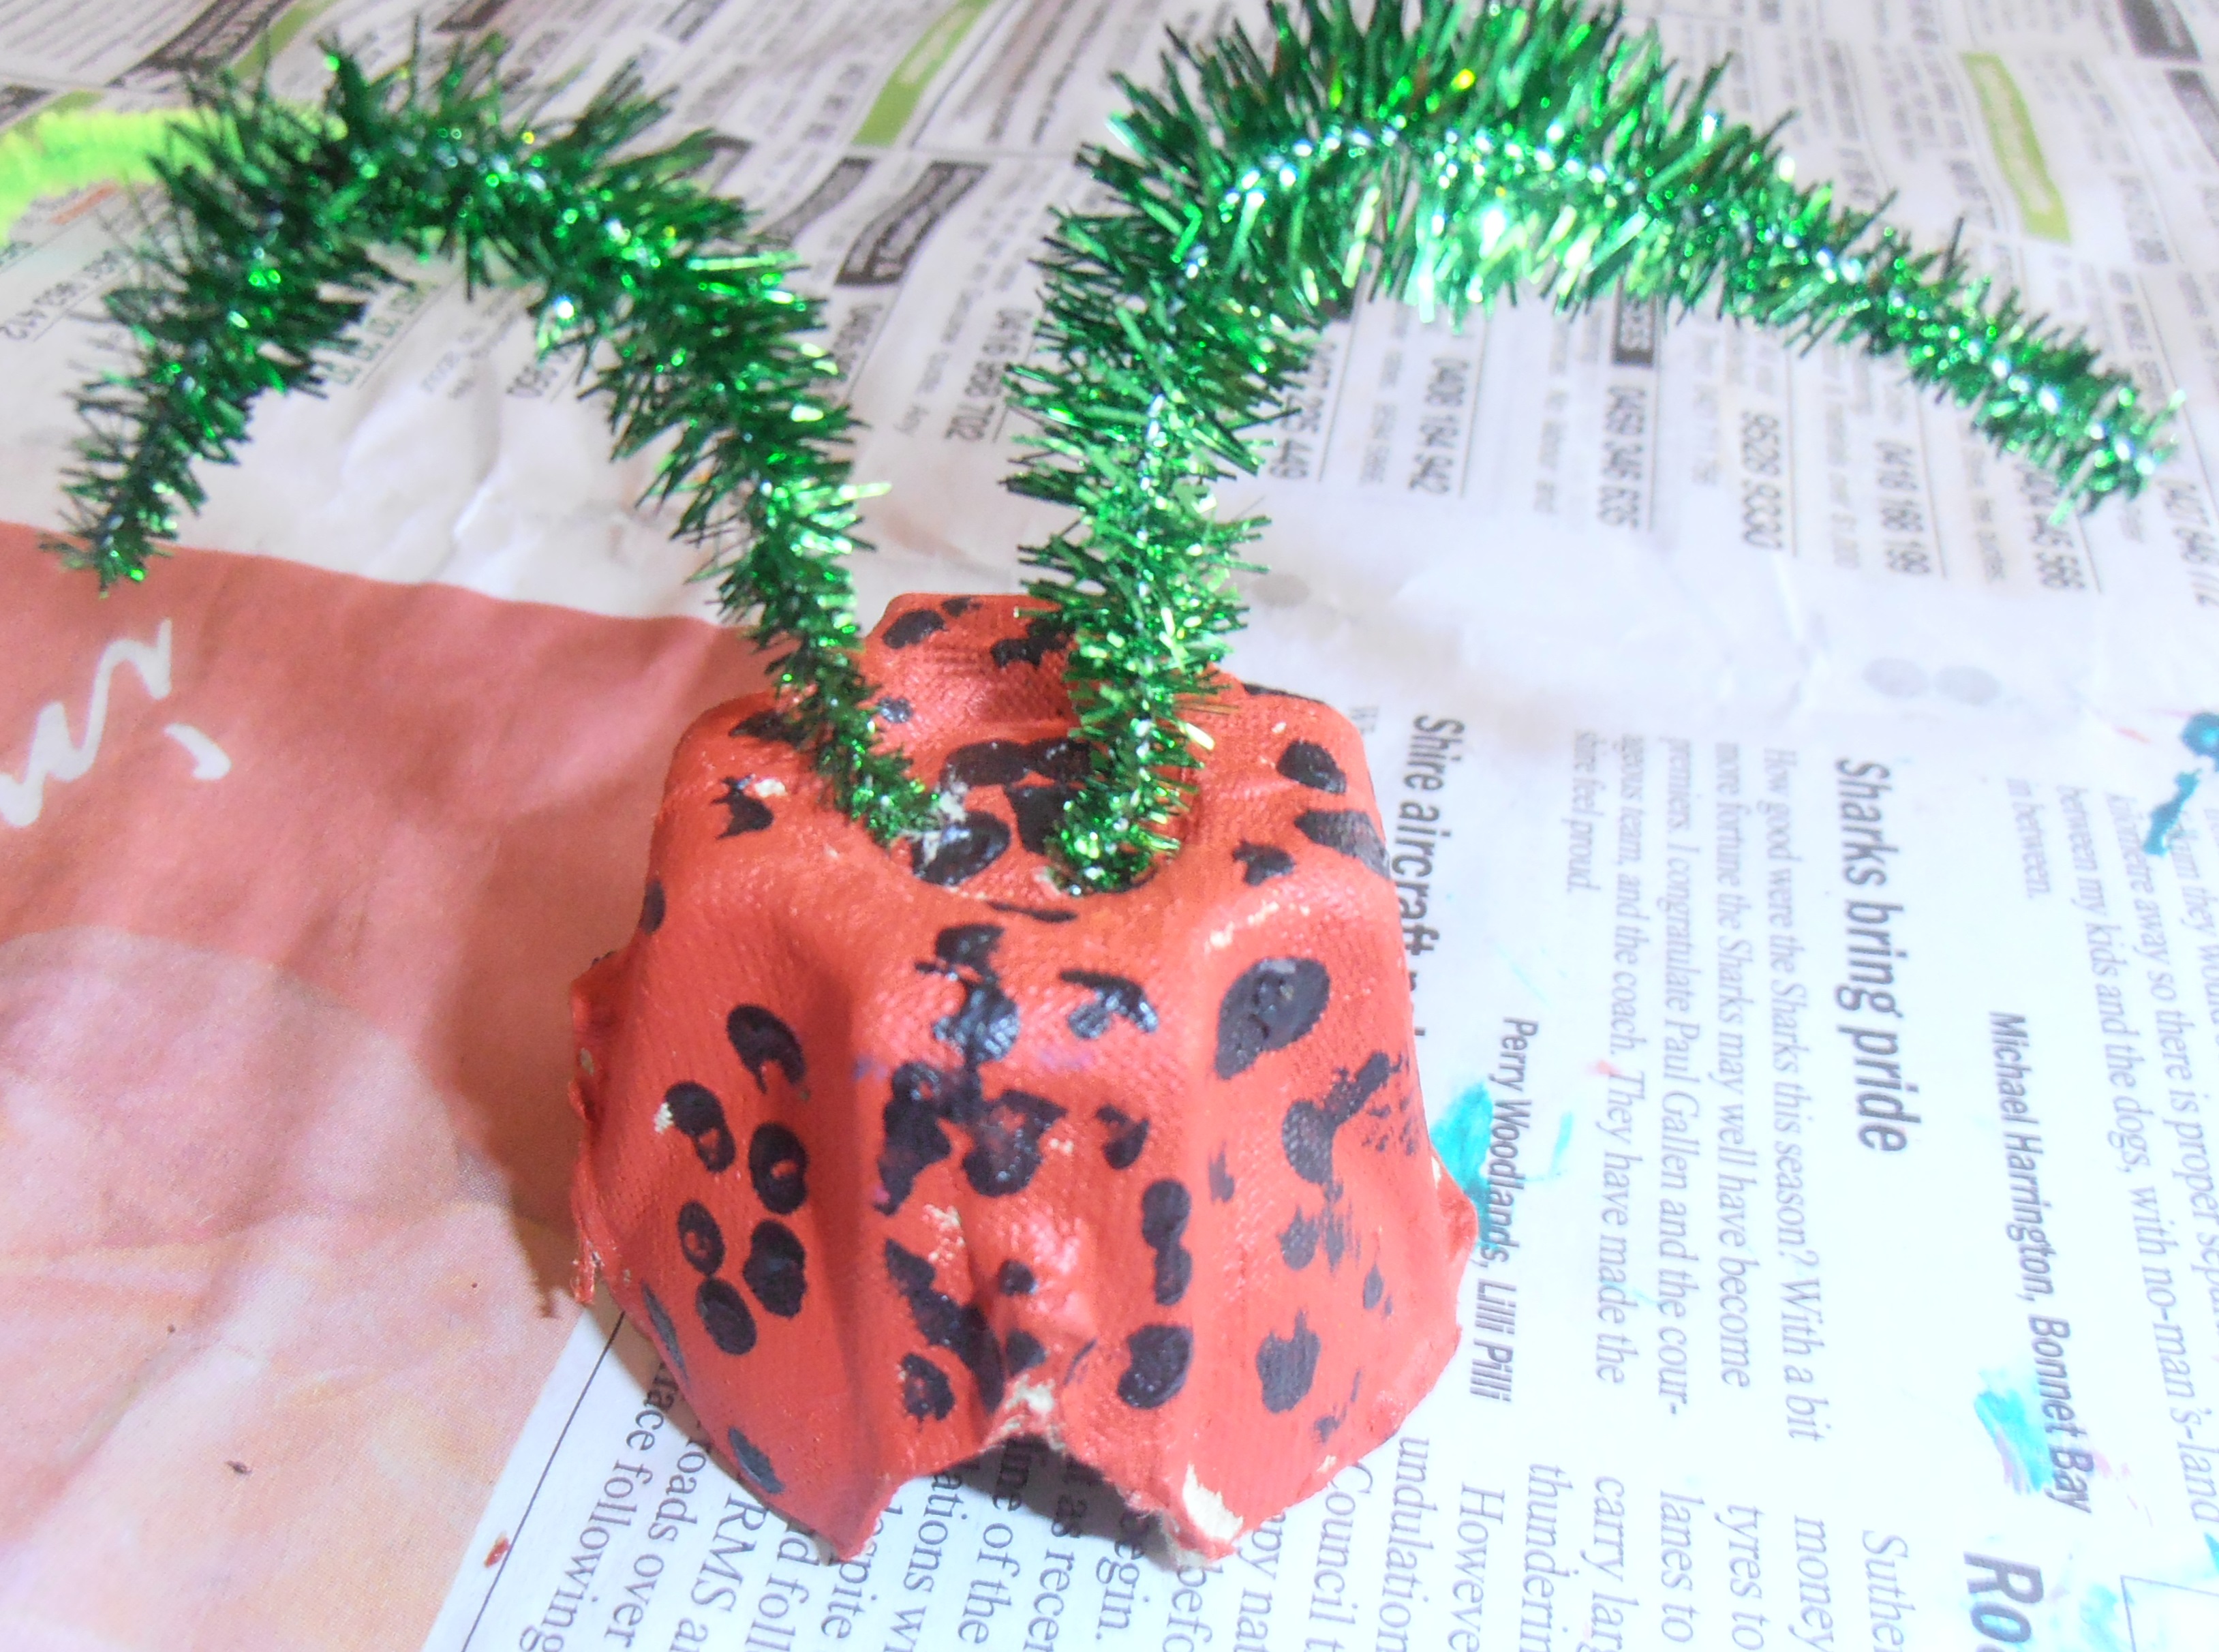
Step 5 – Bend the Tinsel Pipecleaner round into a loop on one side to make a halo, as shown in picture. Then bend the other side around the neck of the Angel, as shown in the following picture. Fasten at the back of the Angel’s head with a piece of Sticky tape.

OLYMPUS DIGITAL CAMERA


OLYMPUS DIGITAL CAMERA


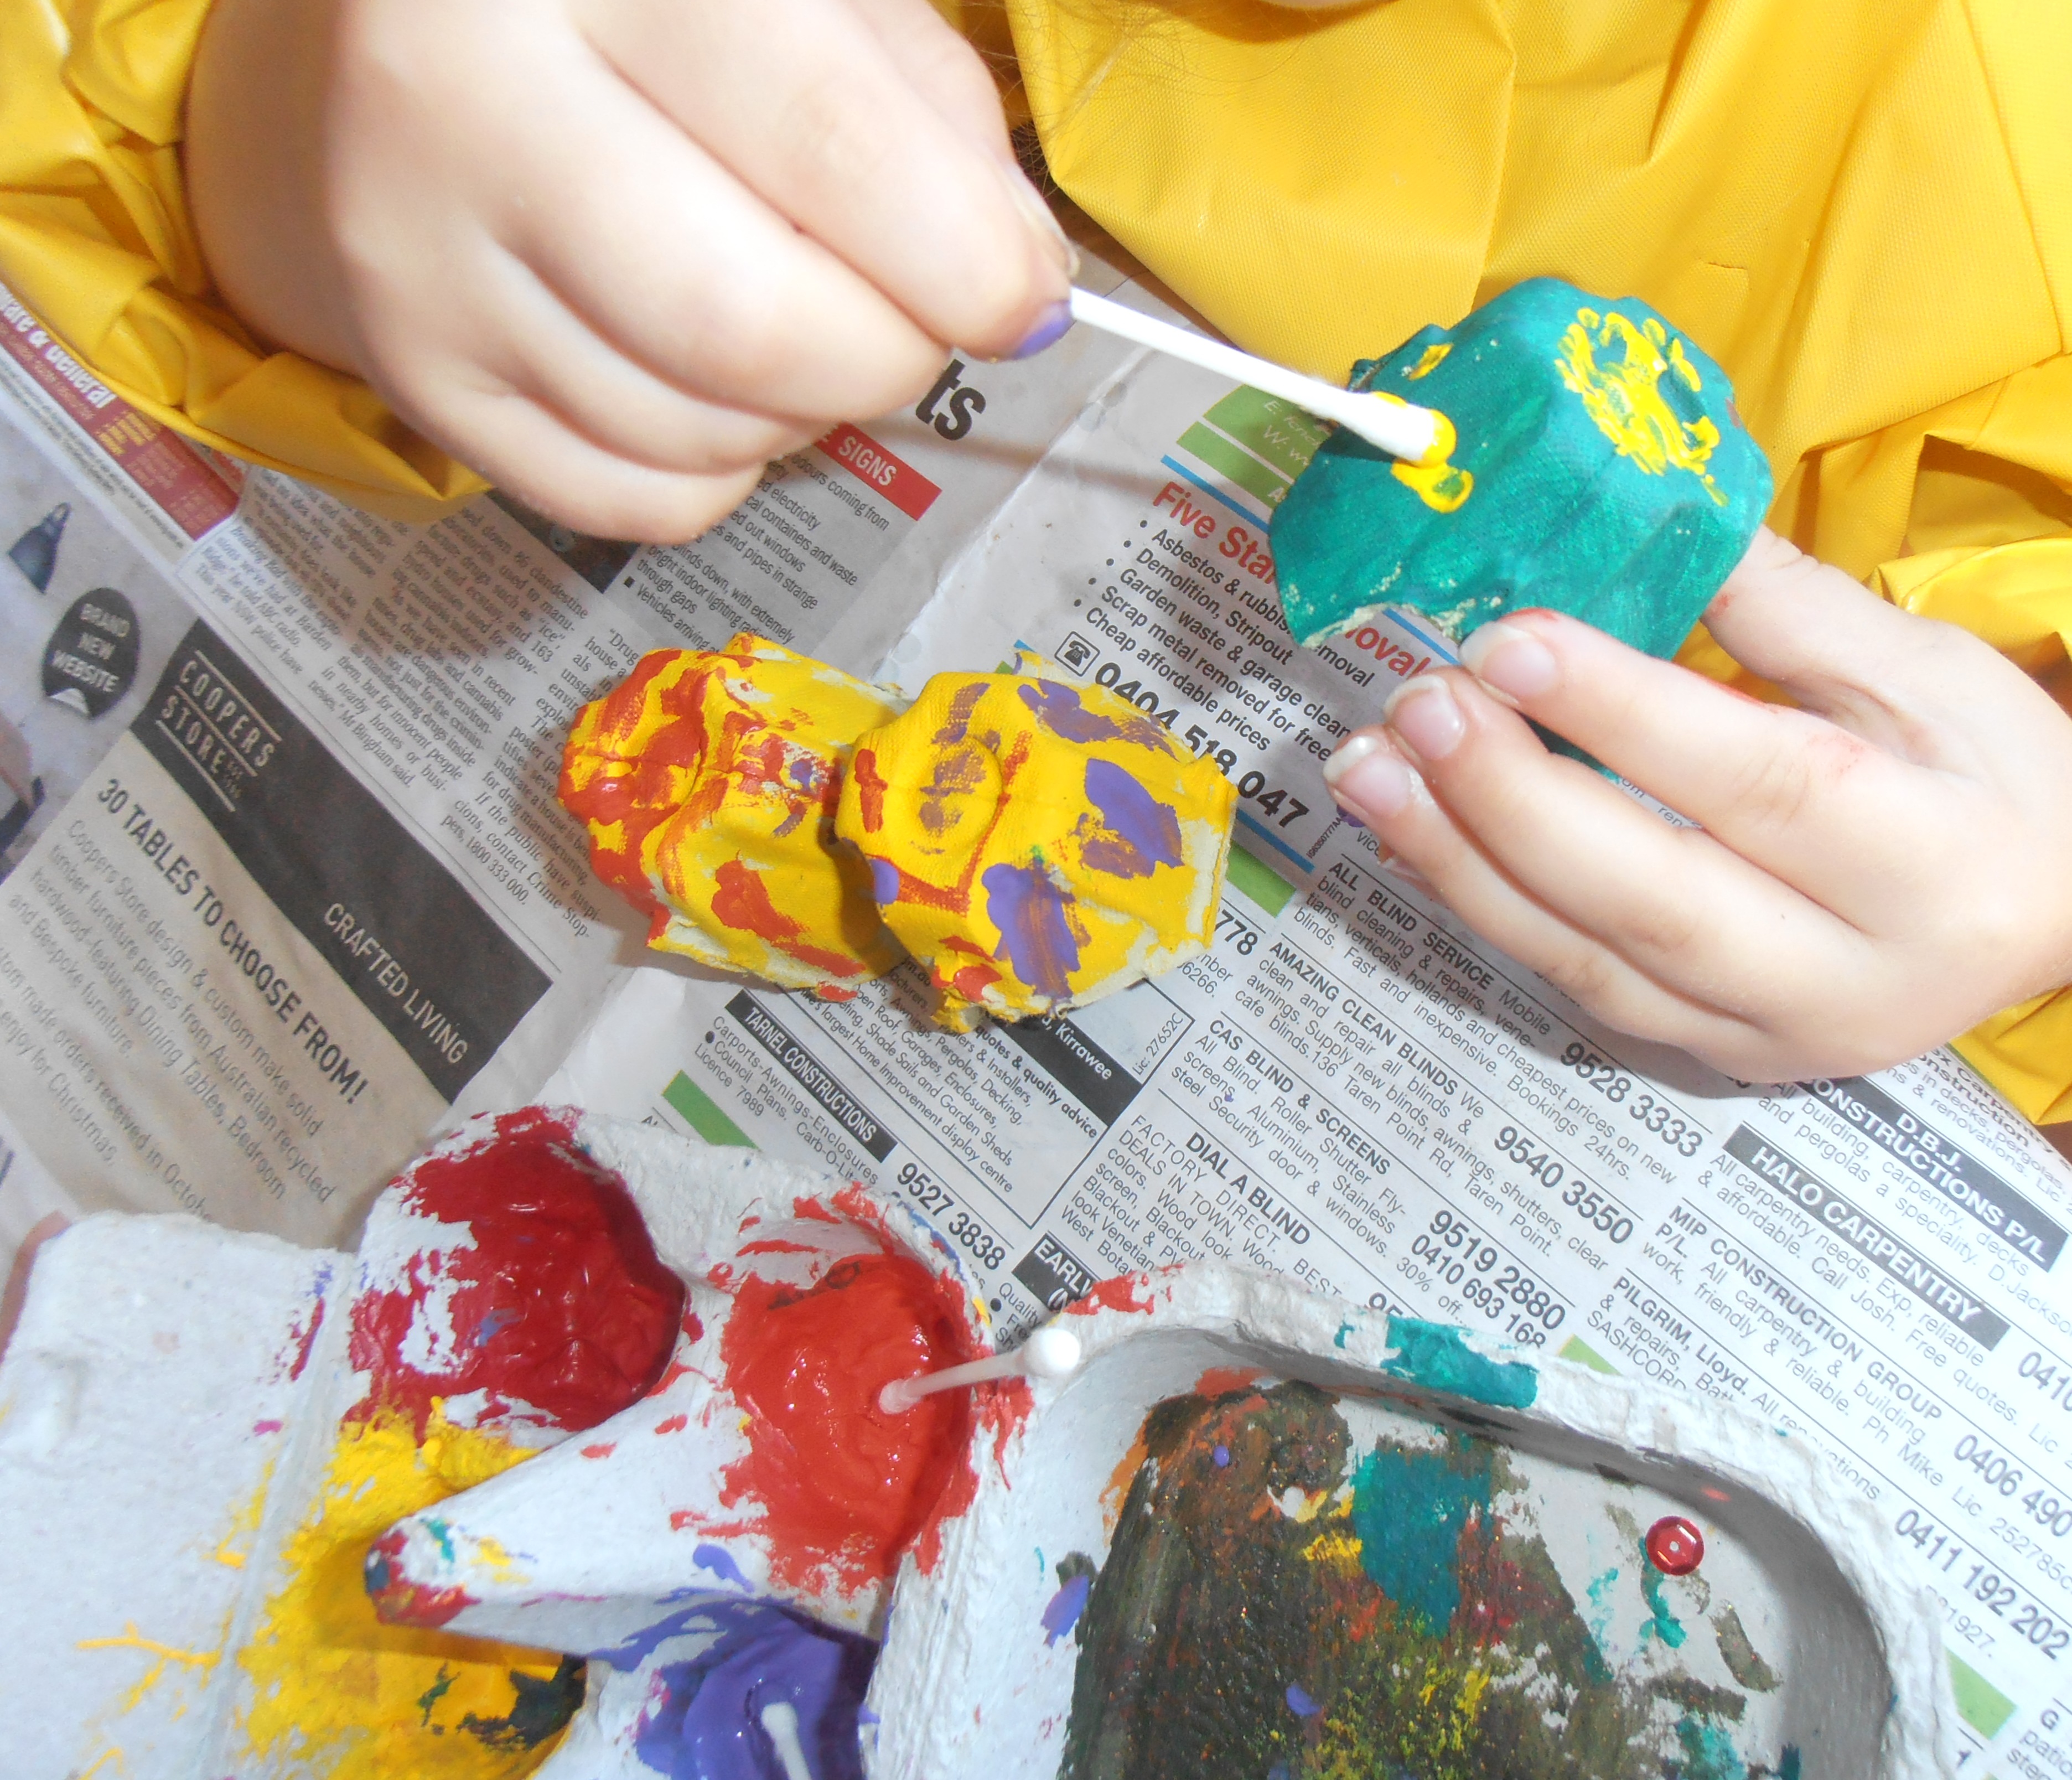
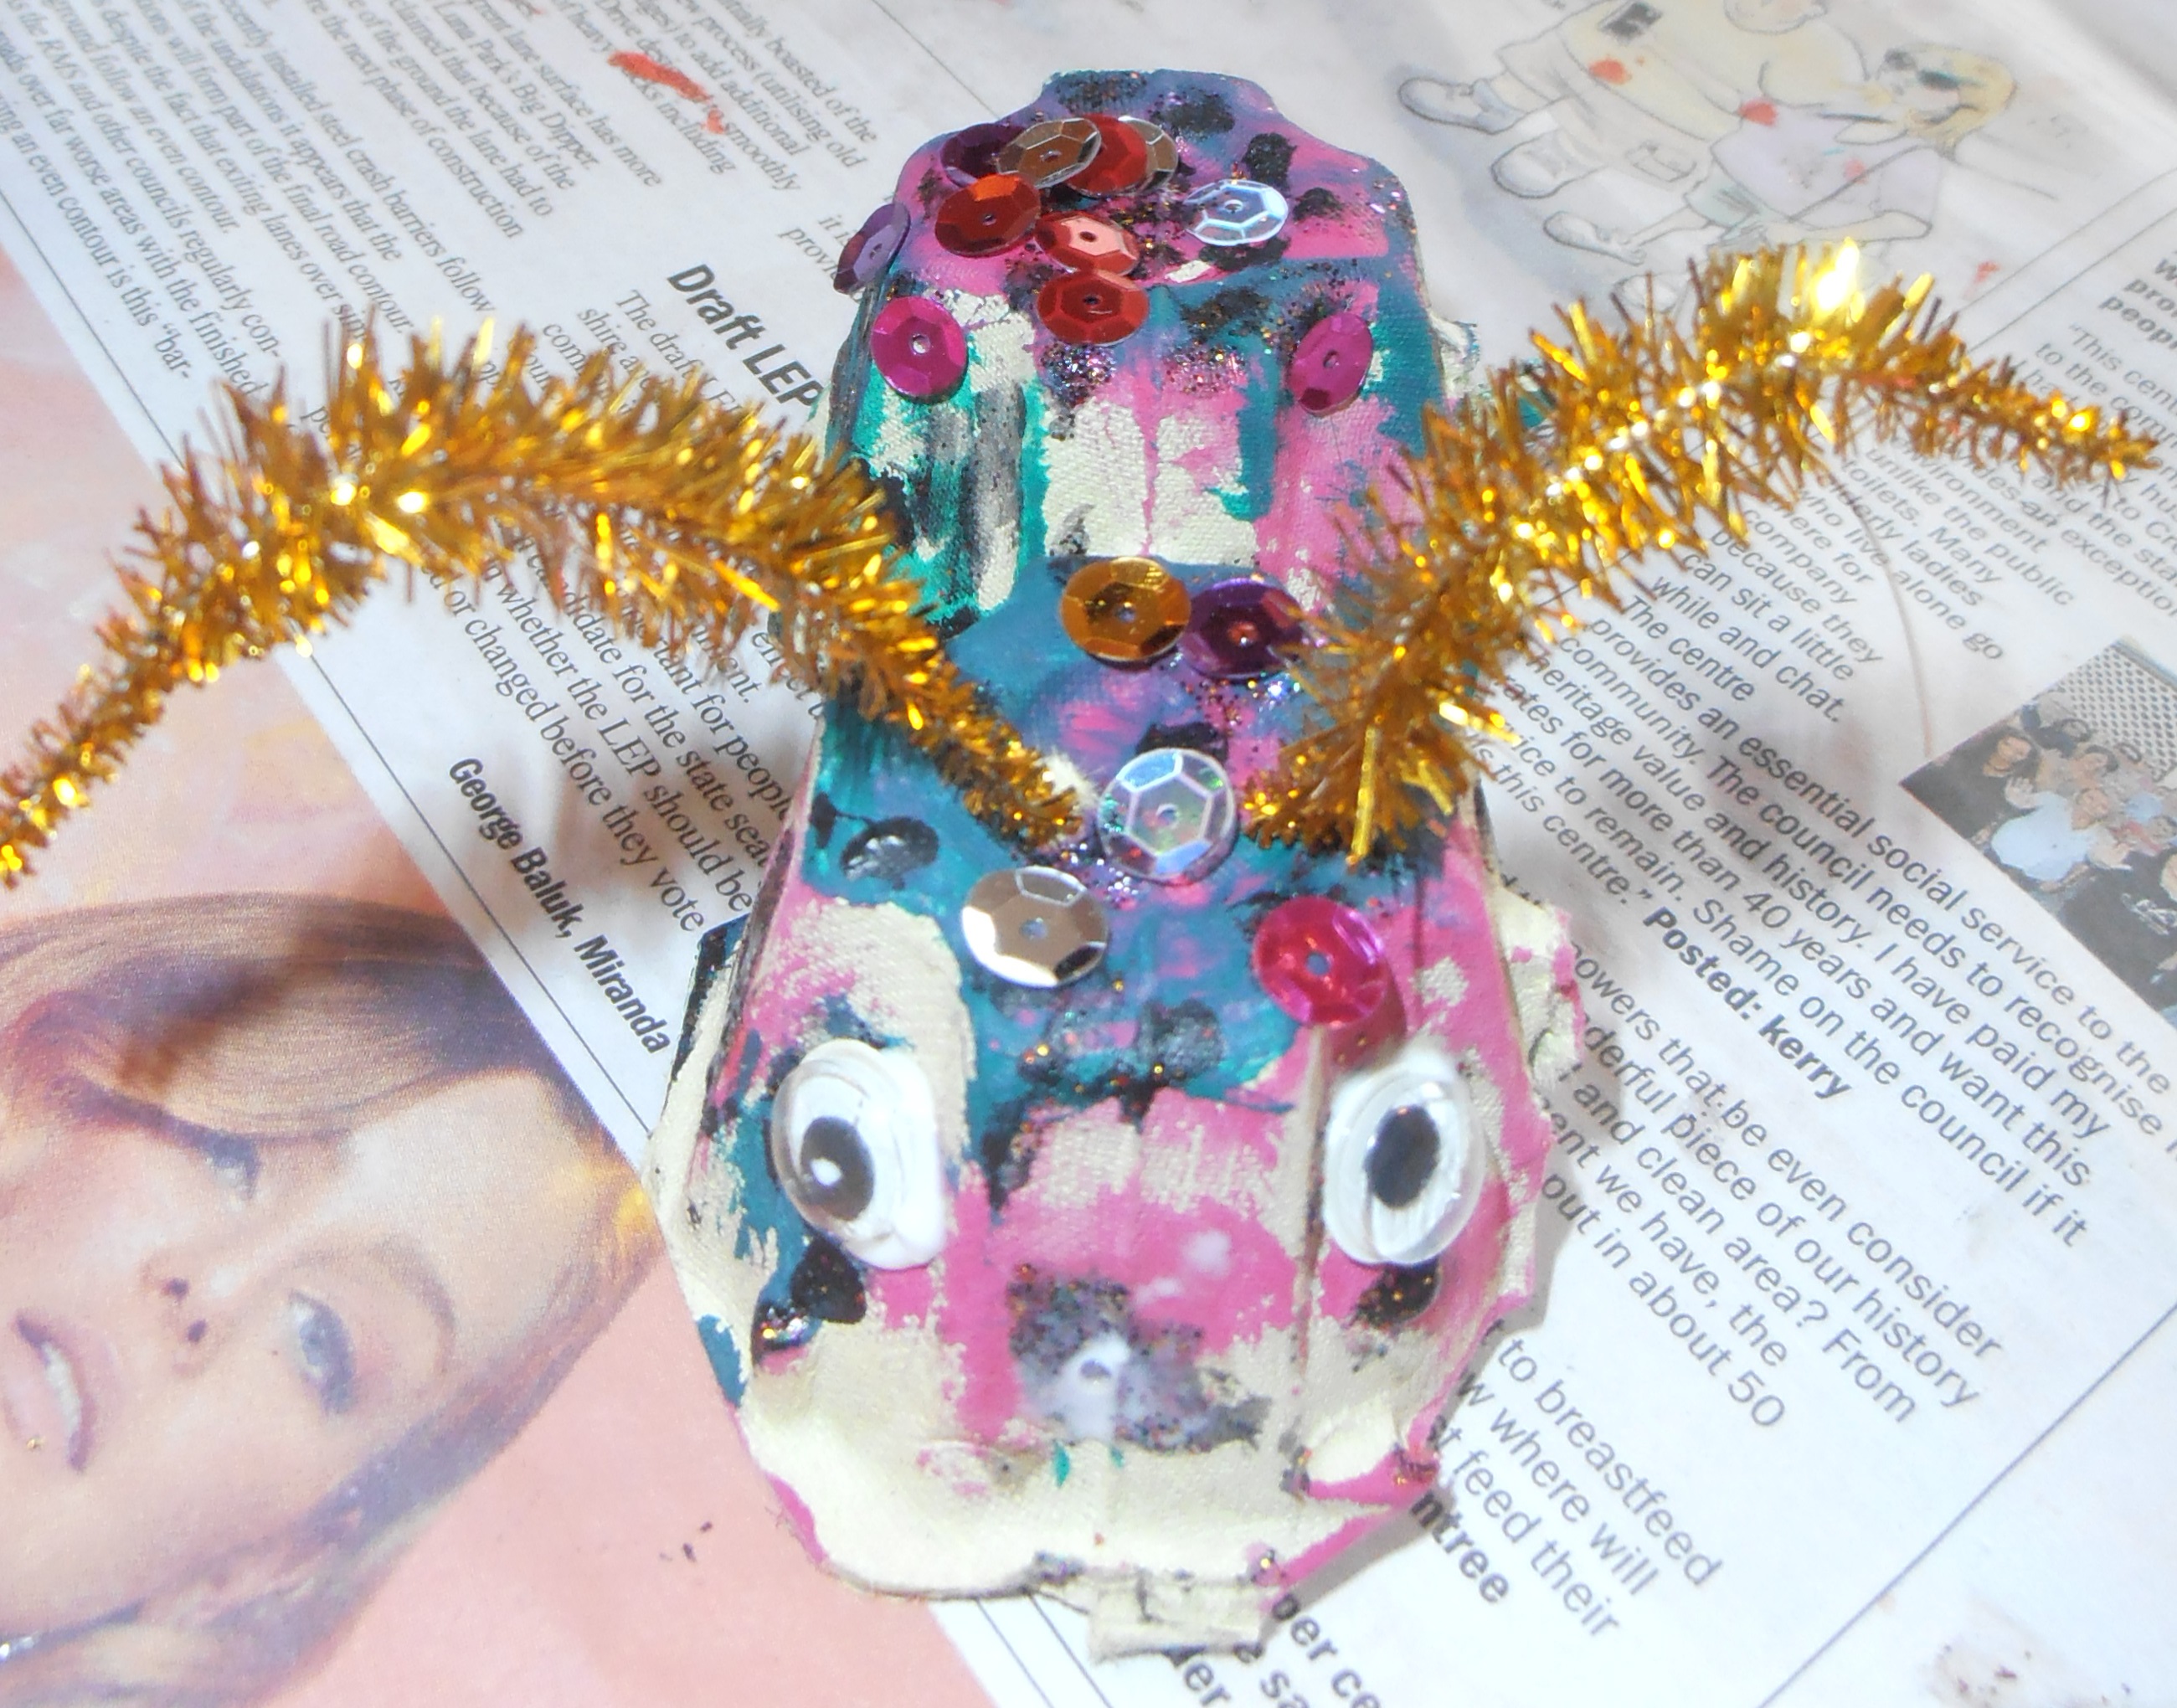
Step 6 – Glue the Googly eyes on with PVA glue and paint or draw the mouth on. Then add lots of Sparkles with the PVA glue.


OLYMPUS DIGITAL CAMERA

Your Peace Angels will need a little time to dry before they are ready to sprinkle Christmas love and peace throughout your home.


OLYMPUS DIGITAL CAMERA


Happy Guiding

and a Peaceful and Merry Christmas

to you and your families,

From

Darling Precious Children 

OLYMPUS DIGITAL CAMERA

Spring Bugs

Spring bugs


What you will need – Egg cartons, Googly eyes, Pipe-cleaners, Small Pom Poms, Cellophane, Paint, Cotton buds, Paint Brushes, Glitter, Sparkles, Scissors and PVA/Craft Glue.


Spring bugs


Spring bugs

Step 1 – Cut the egg cartons to the size that you want them. If it makes it easier to paint, place a wedge underneath with a piece of the carton.

OLYMPUS DIGITAL CAMERA

Step 2 – Pick some great colours and paint your carton.

Spring bugs

Spring bugs

OLYMPUS DIGITAL CAMERA

Spring bugs

Step 3 – Add some dots and patterns with the paint using cotton buds and paint brushes.

Spring bugs

Spring bugs

Step 4 – Add some glitter and sparkles using PVA/Craft Glue

Spring bugs

Spring bugs

Spring bugs

Step 5 – Poke two holes into the top if you would like to add antennas. Then put a piece of pipe-cleaner through the holes to make the antennas.

Spring bugs

Step 6 – Glue on some Googly eyes and a Pom Pom nose with PVA/Craft glue.

Spring bug

Spring bug

Step 7 – Make some wings using the Cellophane and either glue them on with PVA Glue or use Sticky Tape if it is easier.

OLYMPUS DIGITAL CAMERA

Your Spring Bugs are now finished so let them fly to a special place where they will brighten your room and your day.

Spring bug

Happy Guiding

From

Darling Precious Children