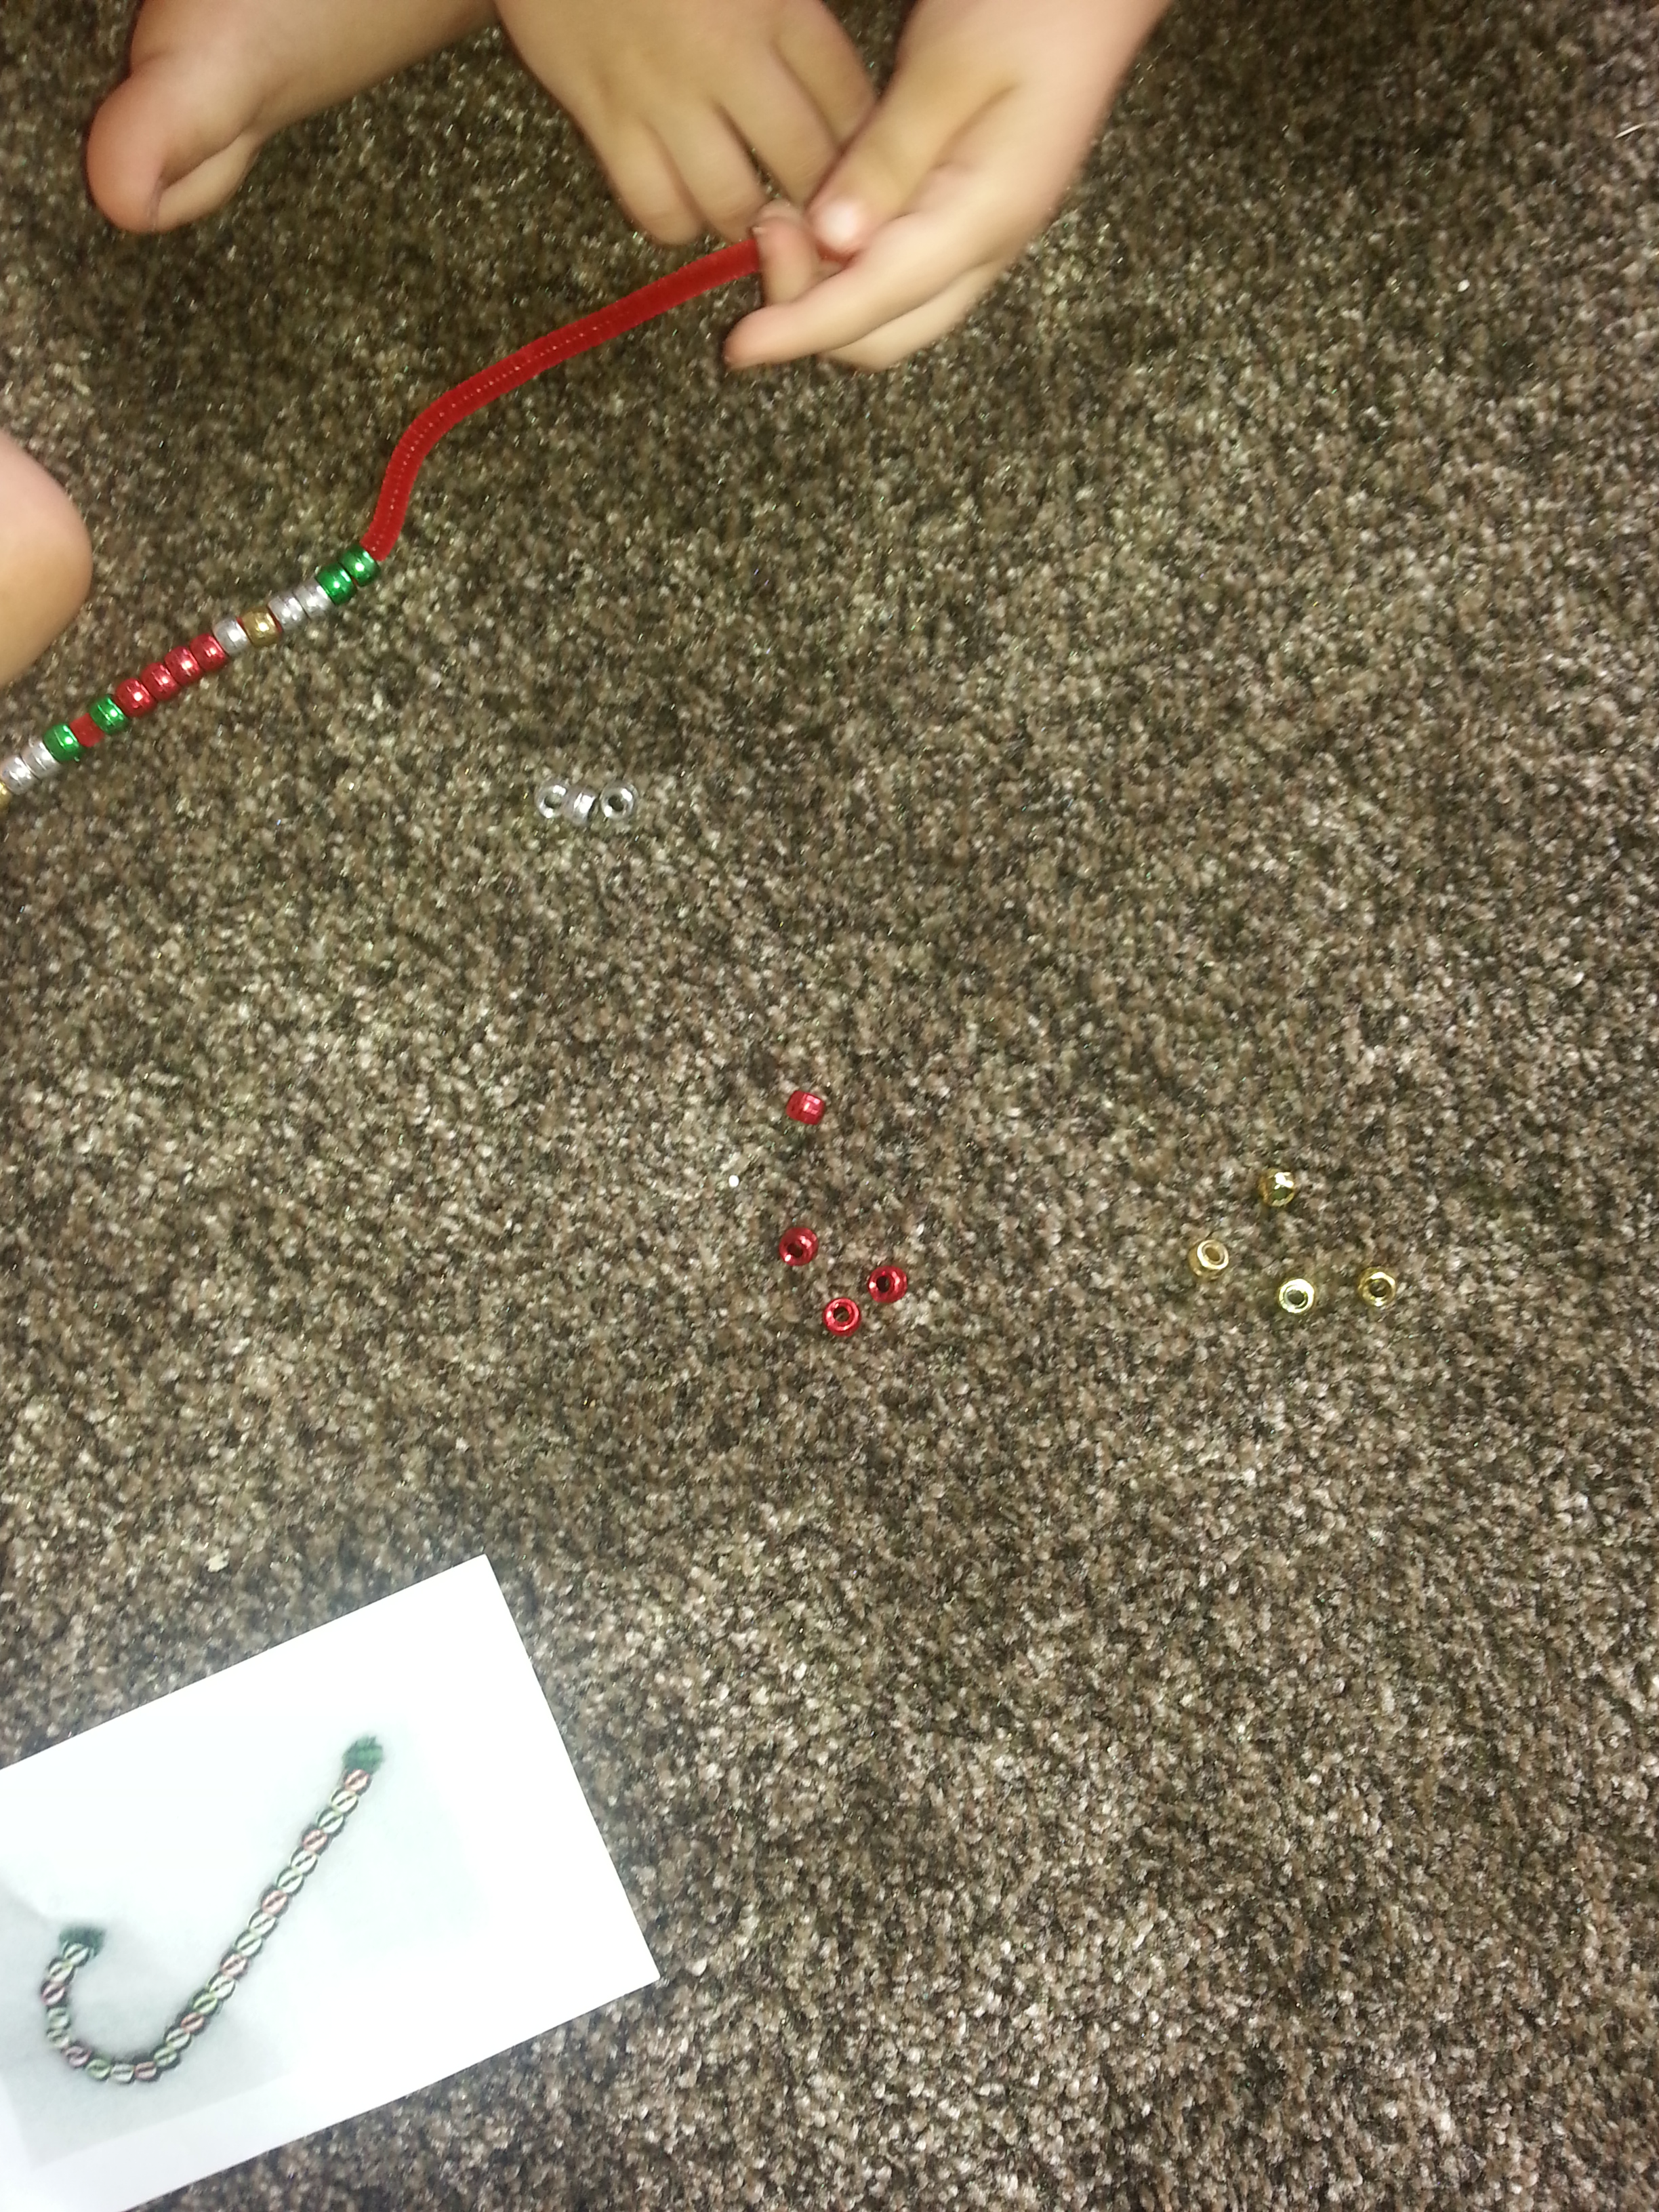
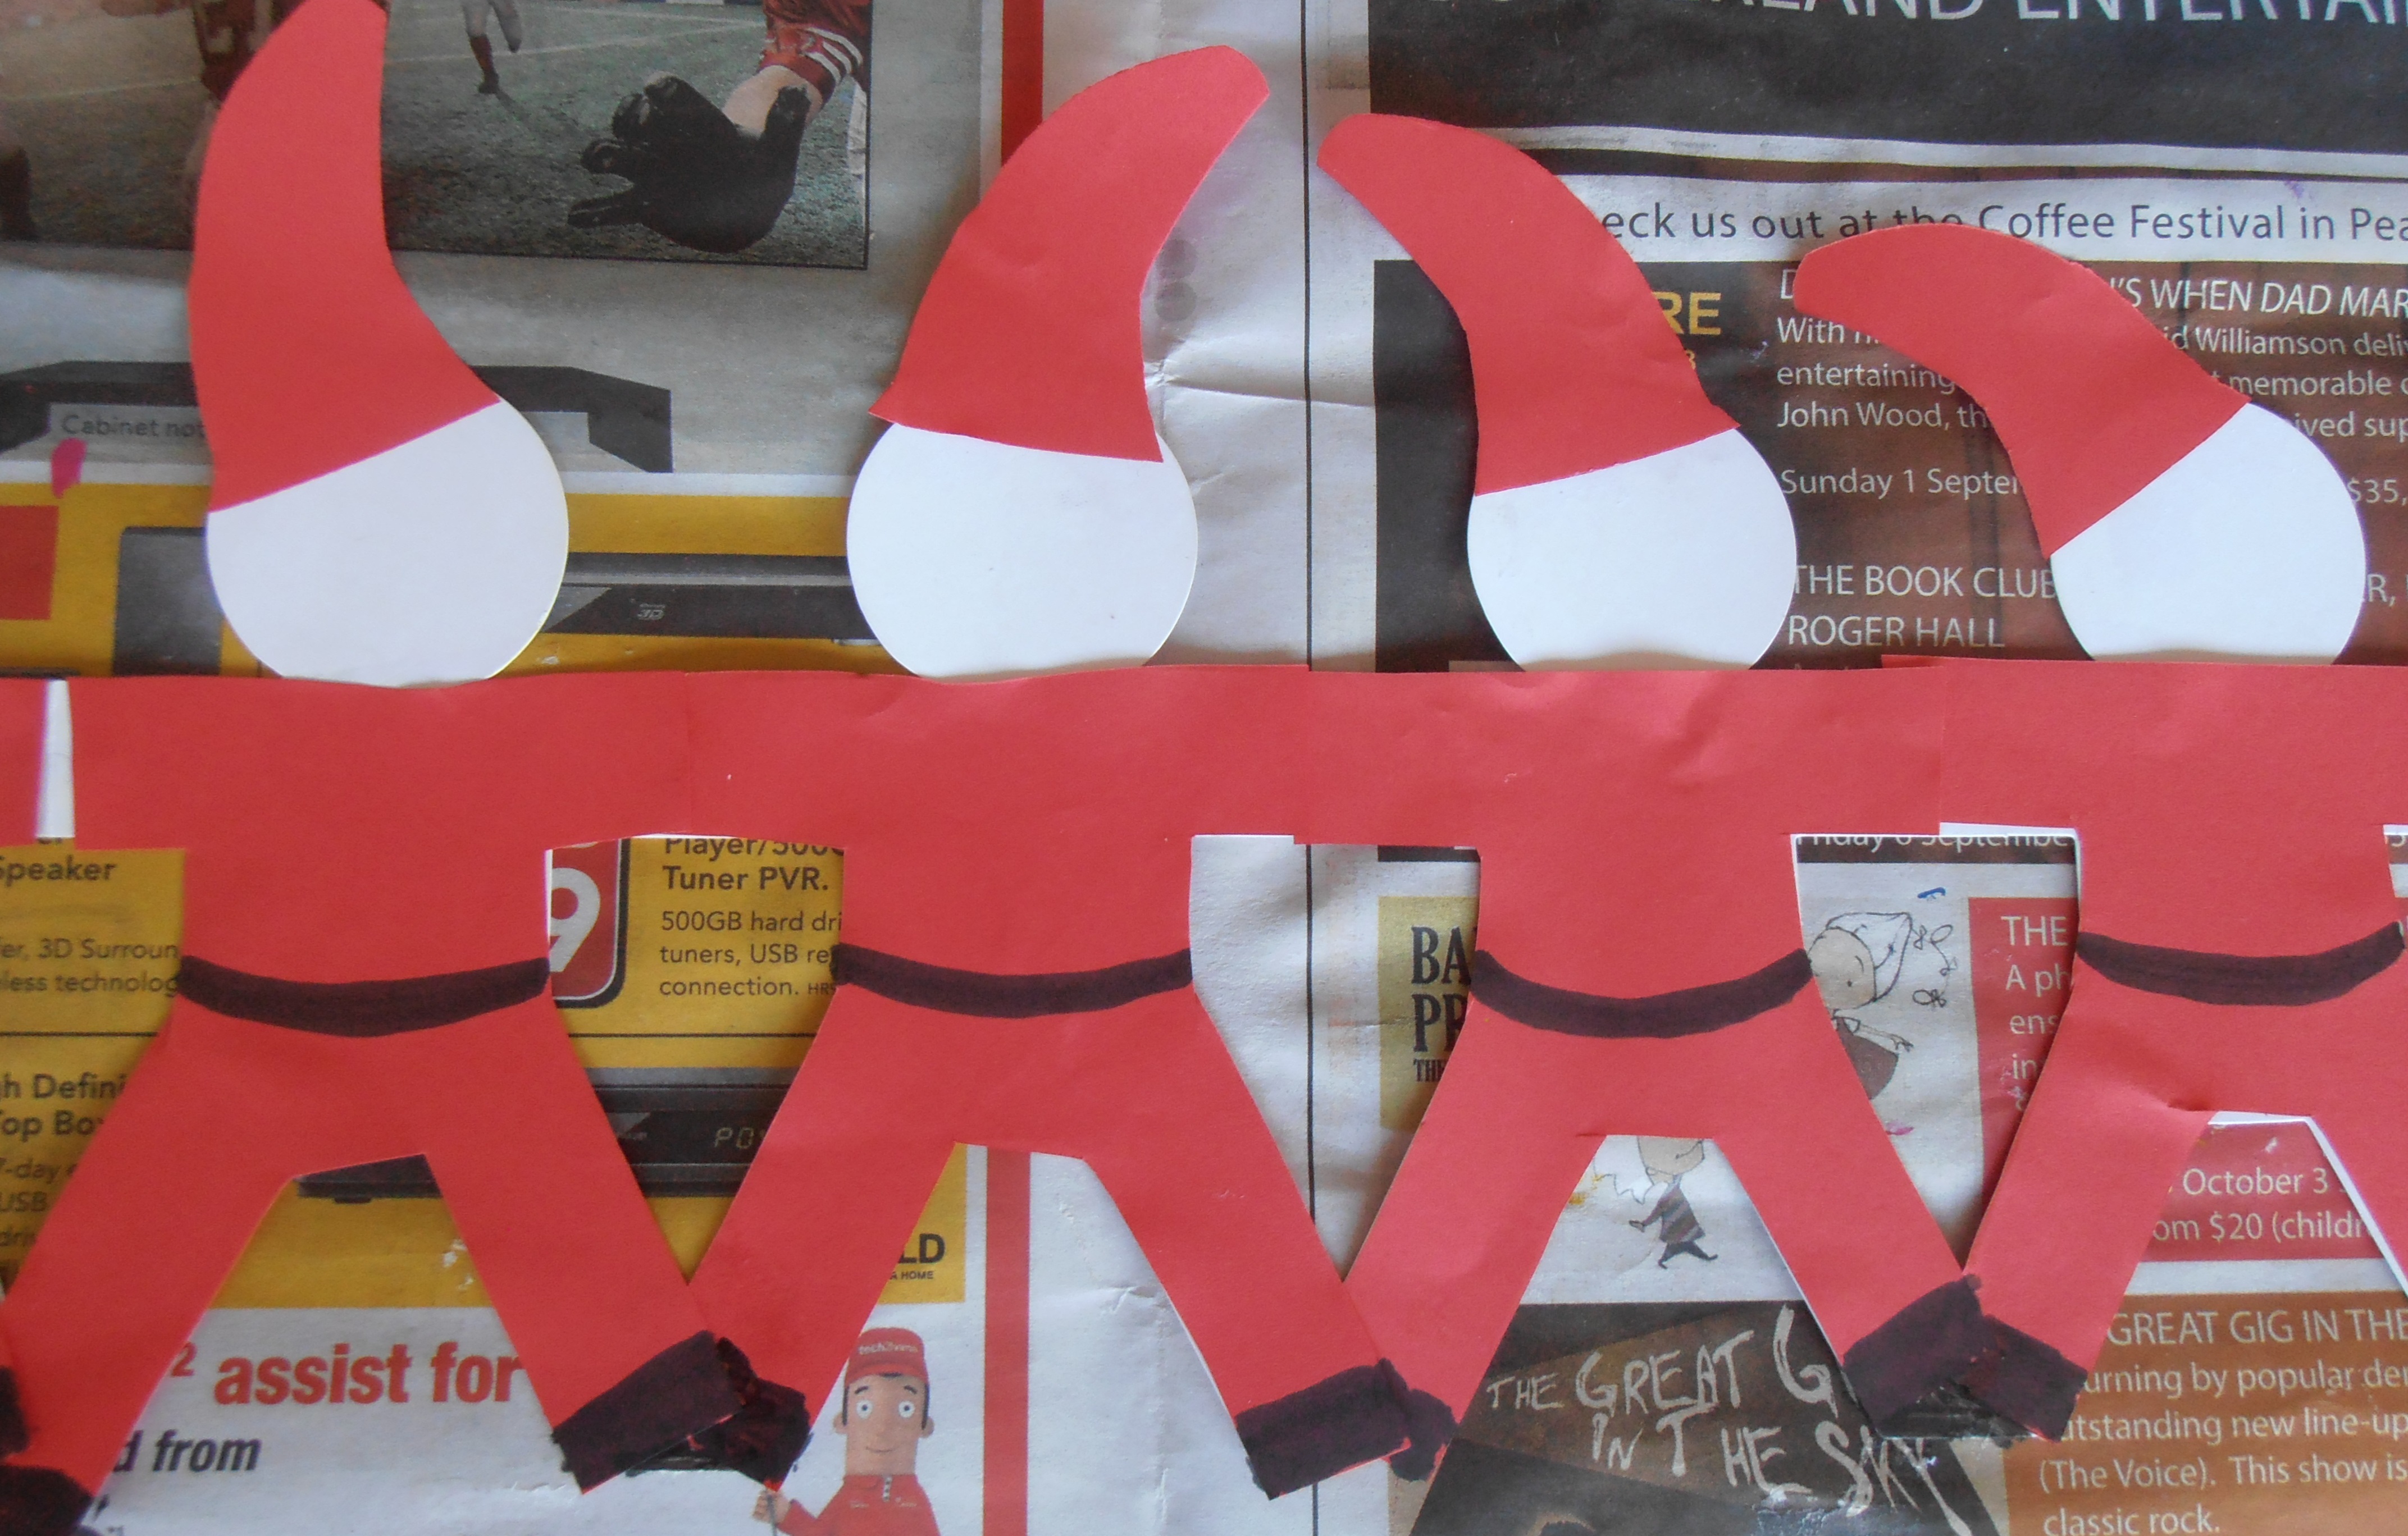
What you will need: foam ball, coloured paint, paint palette/container, plastic cup, plastic wrap, paint brush, glitter paint/glue, plastic tablecloth or newspaper to cover surfaces and a variety of the sparkliest sparkles you can find e.g stars, sequins, etc.


Step 1 – Cover your surface area with newspaper or a plastic tablecloth and get out everything you will need to make your Sparkly Christmas Bauble. Then place plastic wrap fairly loosely over the rim of your plastic cup and let your foam ball sit securely on the plastic wrap.

Step 2 – Hold onto the plastic cup and use it as a stand for your foam ball as you paint one side of the foam ball in your favourite Christmas colour paint. Then turn the ball over and paint the other side. Leave it to dry for a few hours or overnight and then repaint one side – letting it dry – and then turn it over to paint the other side again. Leave it for a few hours or overnight once again to make sure it is completely dry.

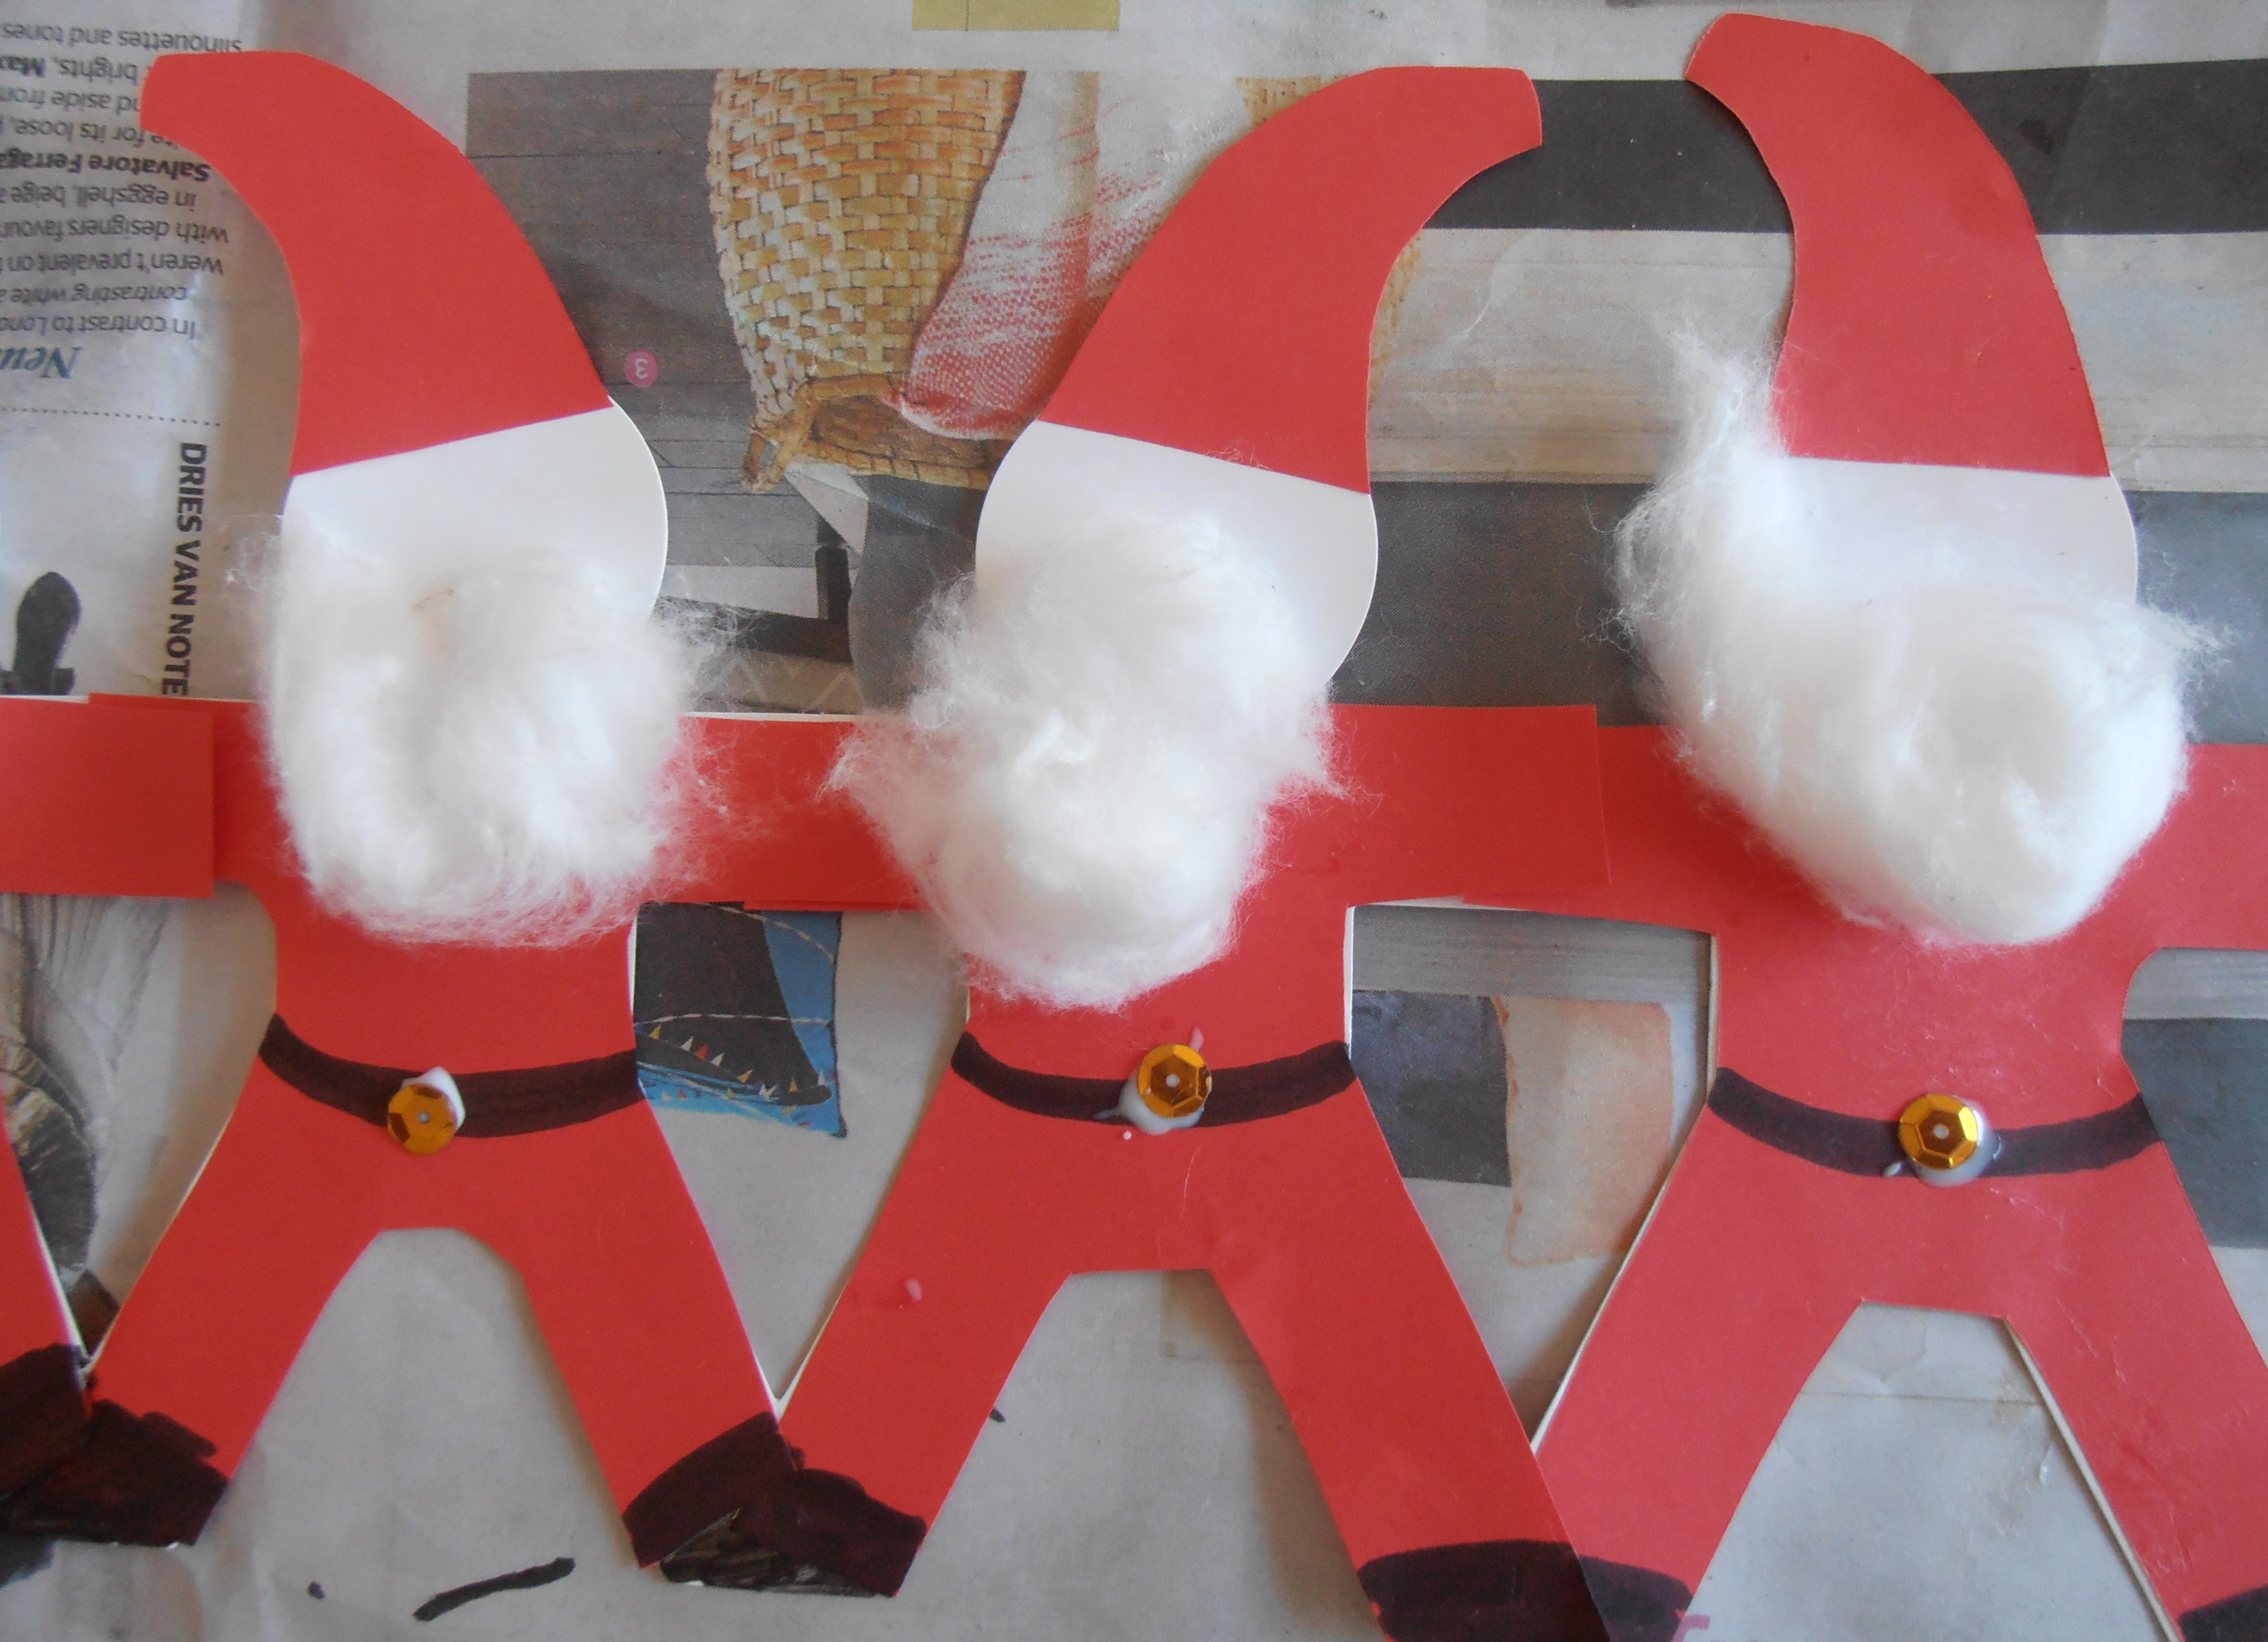
Step 3 – Use the plastic cup and plastic wrap once again to help hold the foam ball. Then put some glitter glue paint into a paint palette/container and generously paint one side of the ball with glitter glue paint.


Step 4 – Using your fingers, carefully sprinkle or gently place some of your sparkliest sparkles all over one side of your glitter glue covered foam ball and let them sink in and stick.


Step 5 – After one side has completely dried turn the foam ball over and repeat step 4 on the other side. Then let the bauble completely dry again.


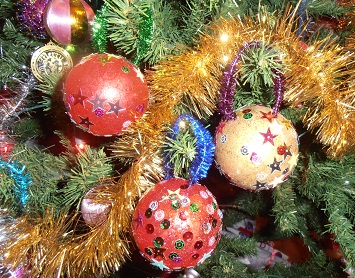
Step 6 – When the bauble is completely dry, press a piece of tinsel pipecleaner into the top at two points, making a hanging loop.
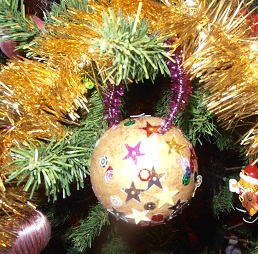
Your Sparkly Christmas Bauble is complete and ready to sprinkle its Christmas magic, so place it where everyone can see it and feel the magic sparkle of Christmas! Not only will your darling precious children love making these but they are also developing their fine motor skills, creativity, and an appreciation for all things sparkly : )
Happy guiding and a magical sparkly Christmas
from,
Darling Precious Children